
VM-Series Firewall
SSH
To use WebUI, we need to set an administrator password, for this, need to connect via SSH.
After creating instances, it takes 10-15 minutes before the Firewall is initialized and will be available via SSH
Connect to the first instance, SSH user – "admin"
And execute the following commands:
configure
set mgt-config users admin password
Enter the password 2 times and save the changes:
commit
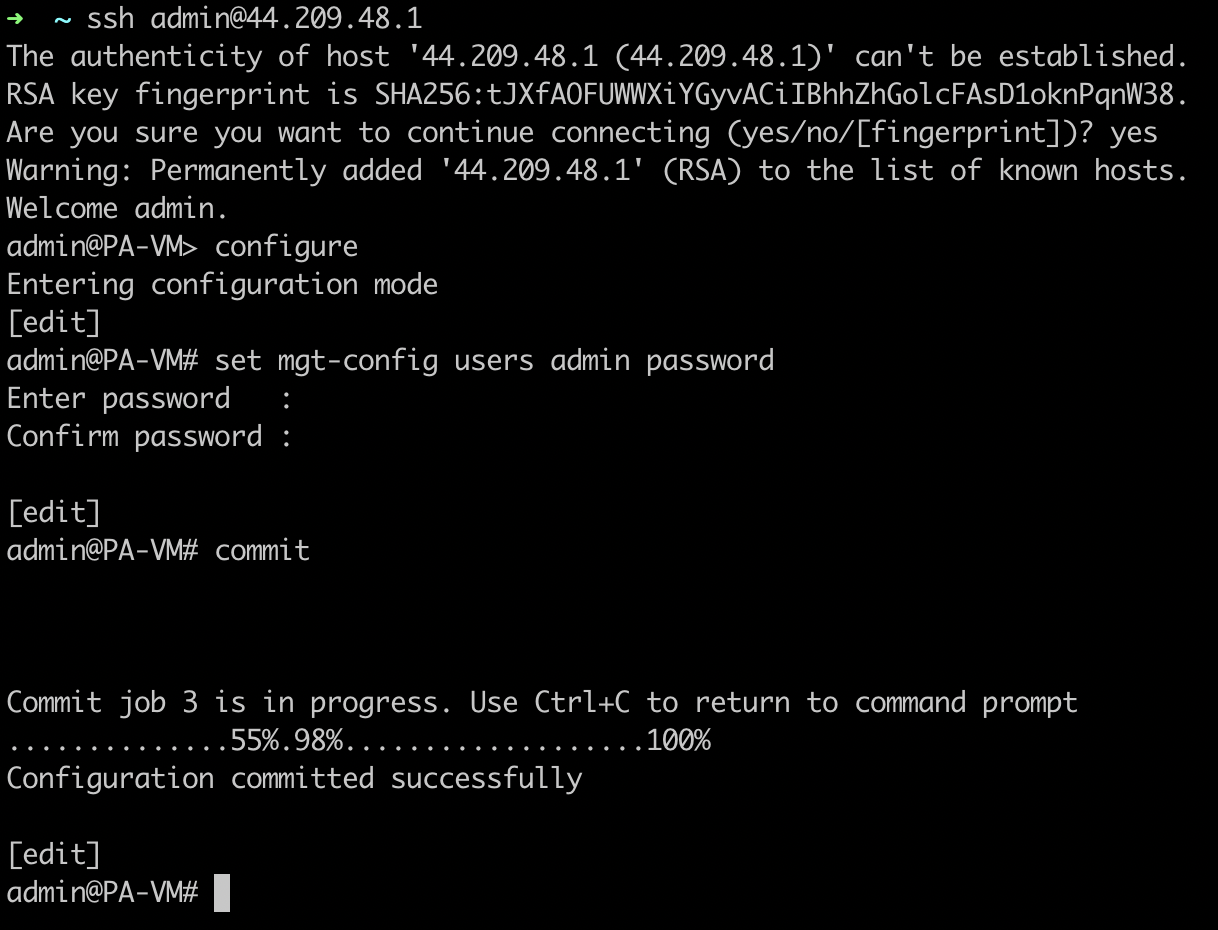
Repeat the same on the second instance.
WebUI
Basic
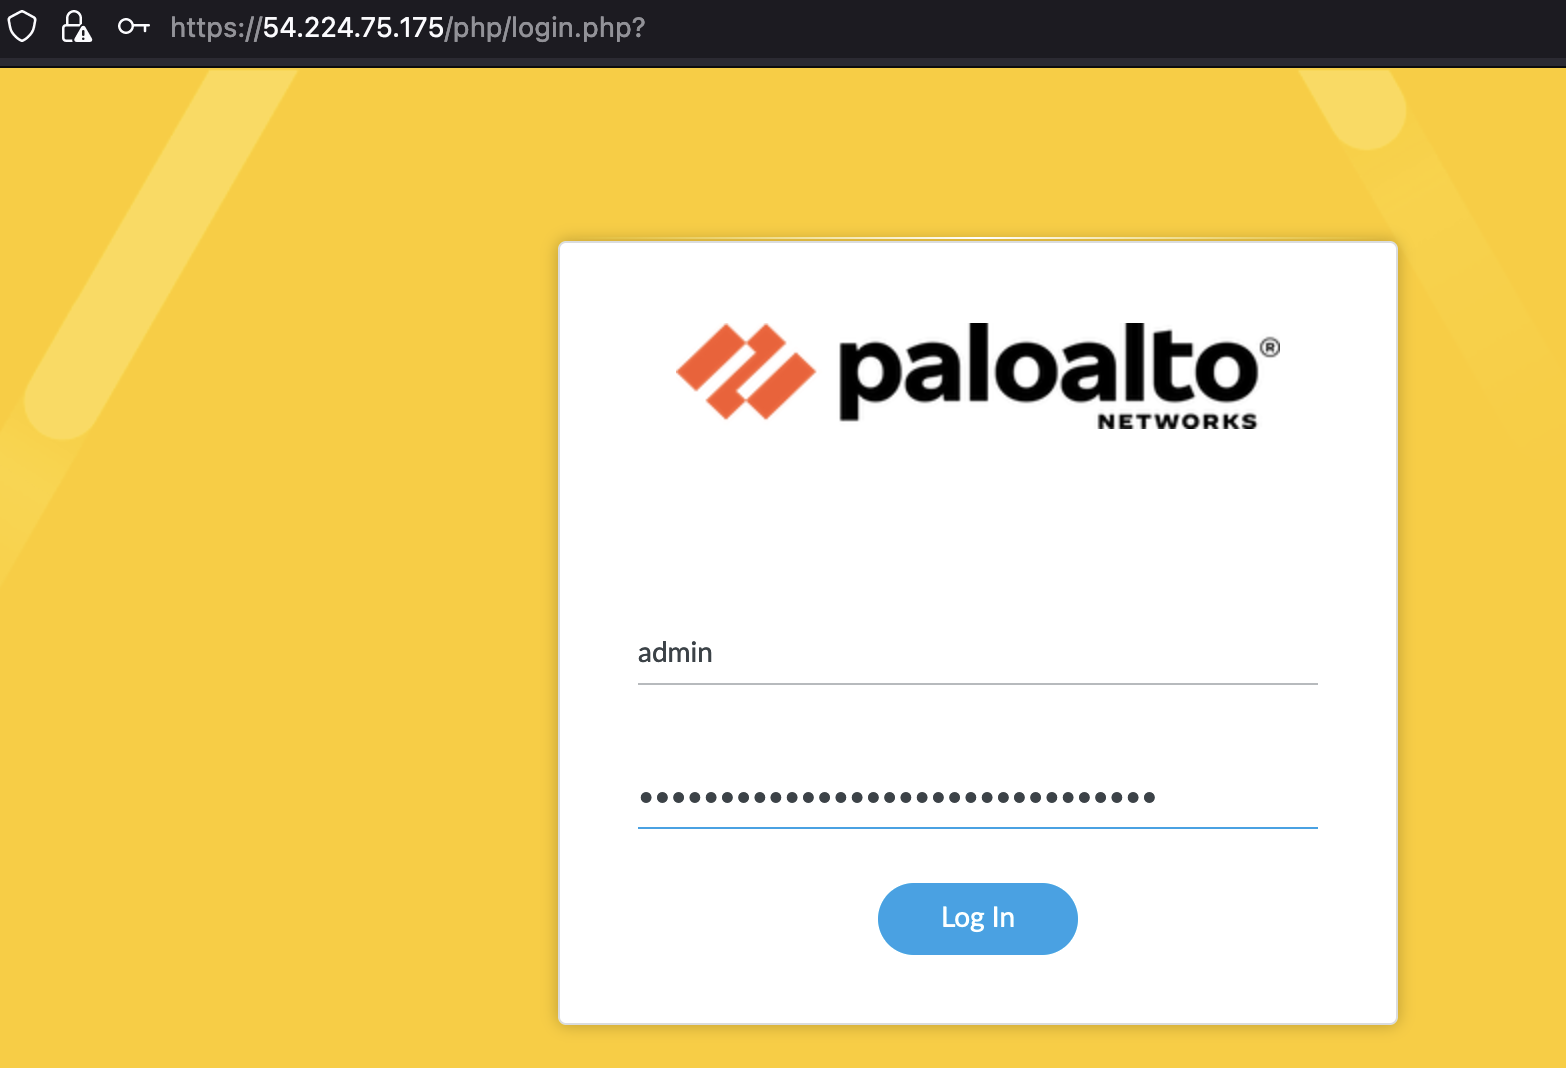
Now you can log in to the WebUI at the following address
https://<MGMT-PUBLIC-IP>
- Login: admin
- Password: the one that was set via SSH
For convenience, let’s set the Hostname, for this we go to "Device" -> "Setup" -> "Management" -> "General settings"
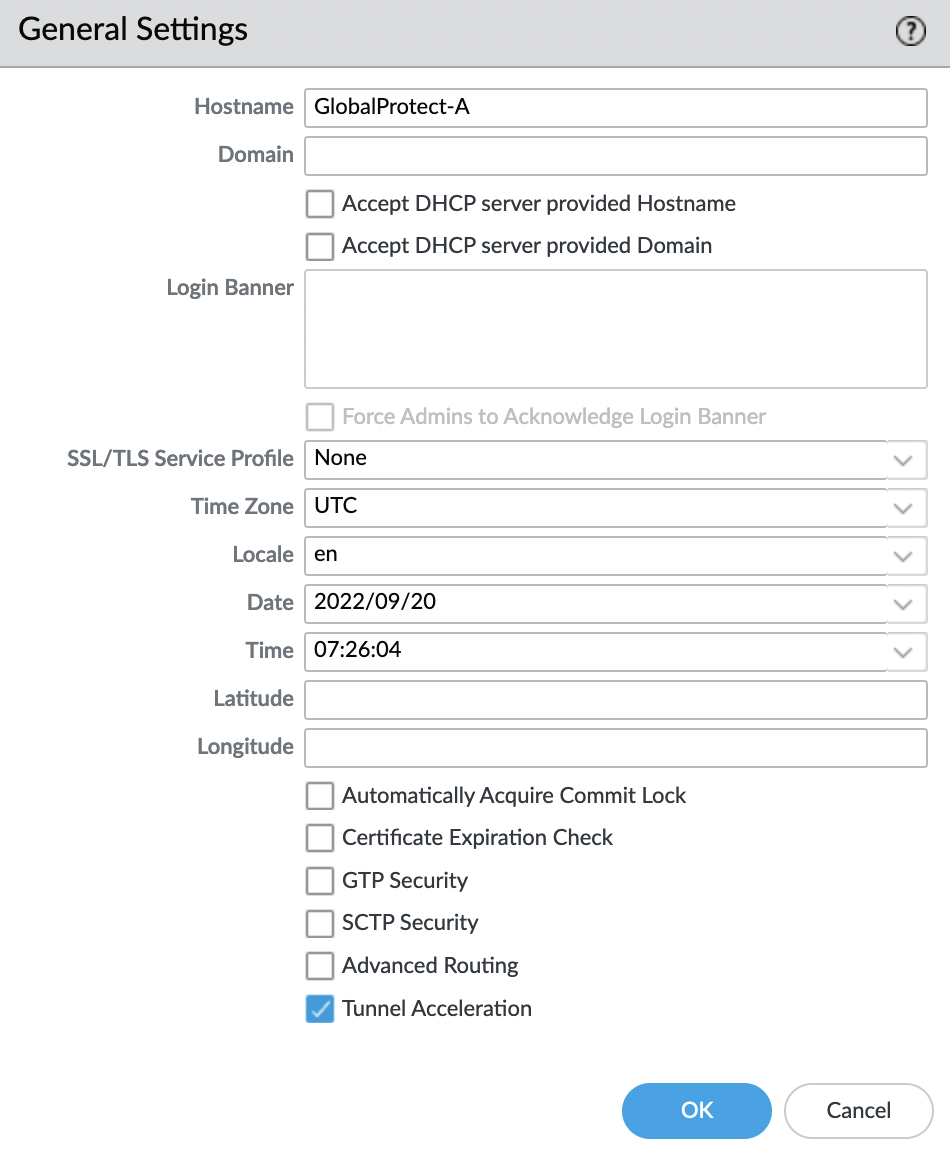
Save the changes, for this, in the upper right corner, select "Commit". After refreshing the browser tab, the name of the tab will change.
HA: Enable
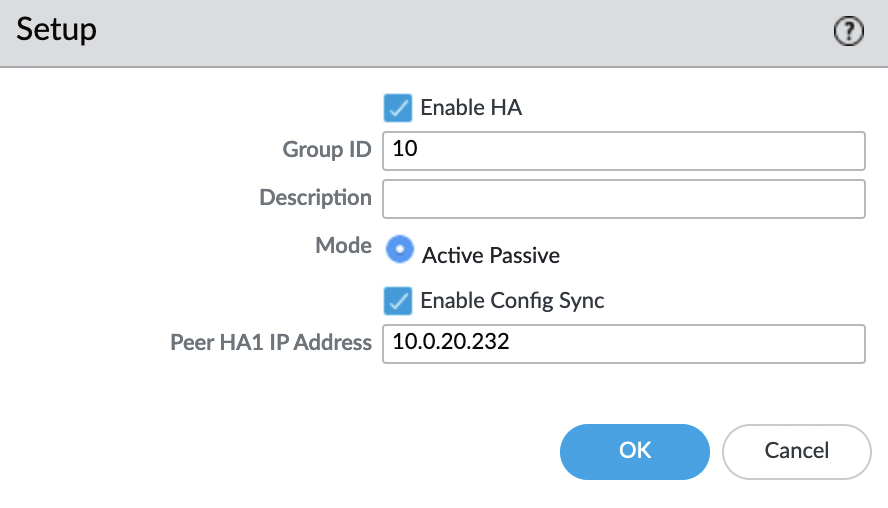
Turn on the HA mode, for this we go to "Device" -> "Setup" -> "High Availability" -> "General" -> "Setup" and select the "gear"
Enable "HA" mode, "Group ID" – any value from 1 to 63, and "Peer HA1 IP Address" – private IP address of the MGMT interface of the second instance (AZ B)
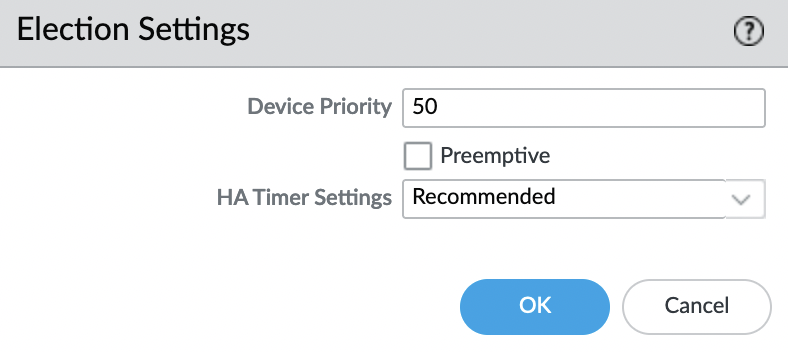
Now you need to change the "Device priority" for the active instance, the lower the value, the higher the priority. The default value is "100", set the value for instance "A" to "50"
Security zones
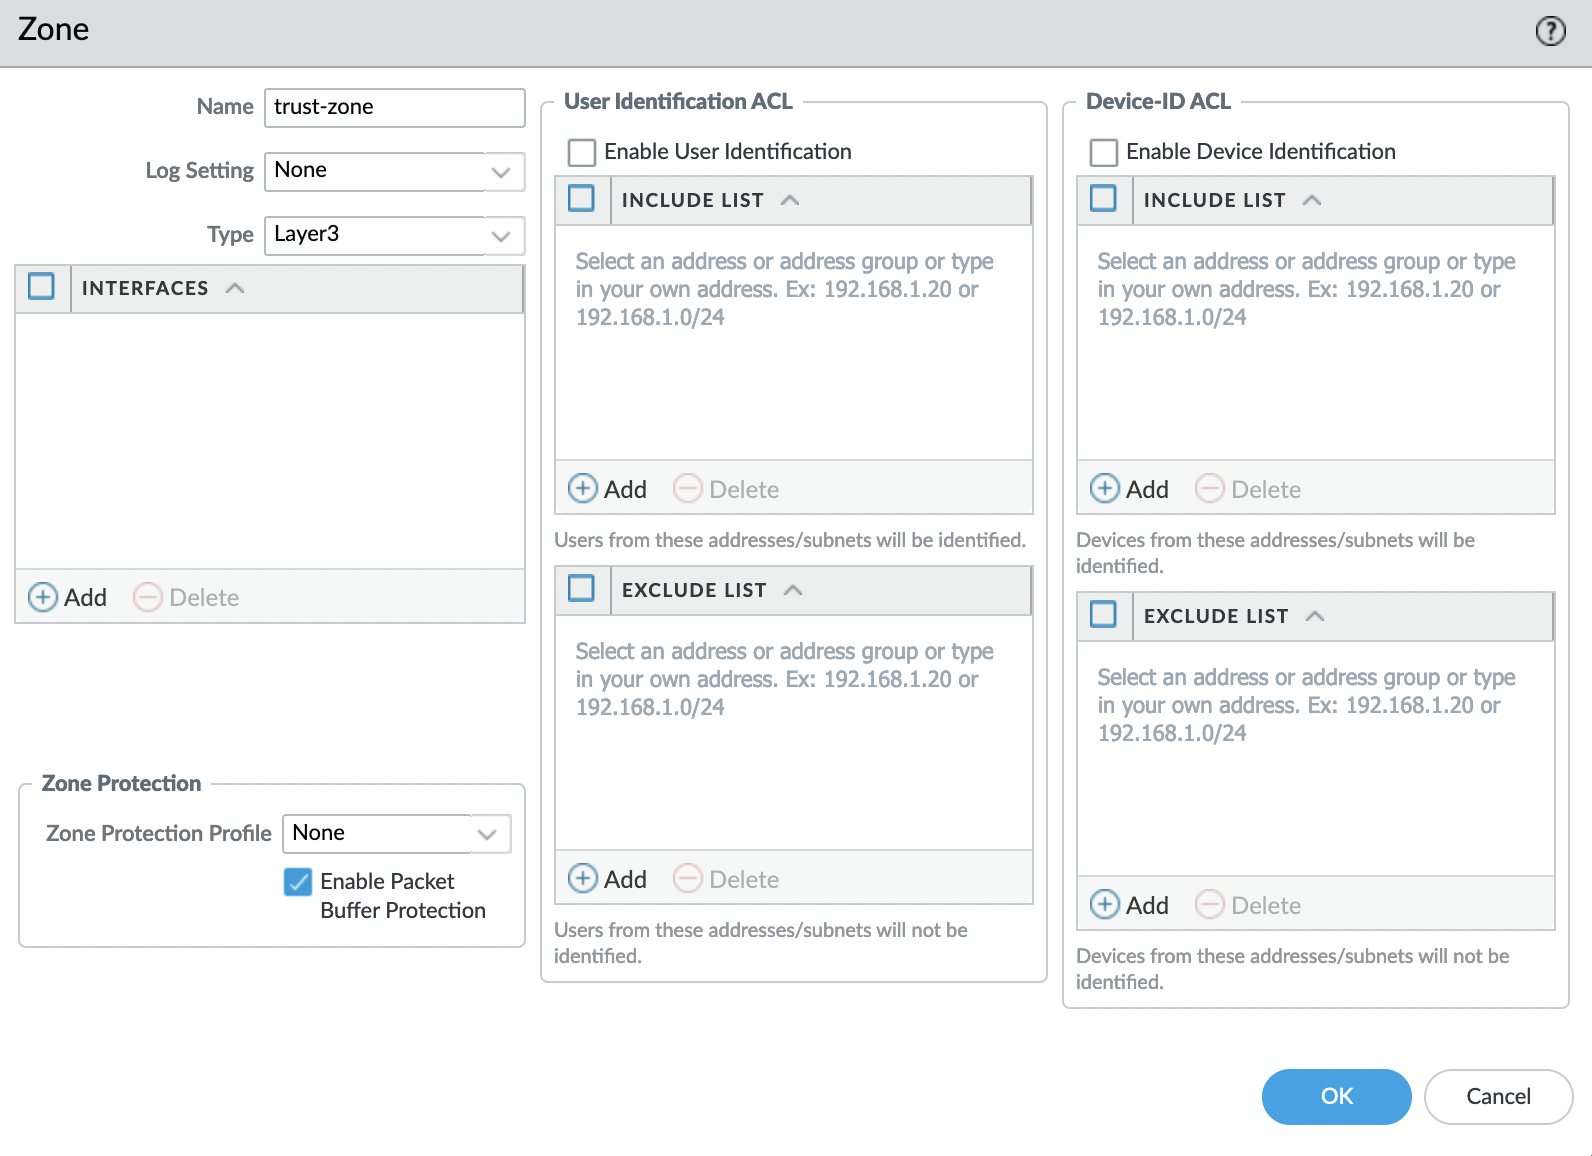
Before configuring the interfaces, let’s create two zones:
- untrust-zone
- trust-zone
Go to the tab "Network" -> "Zones" and add a new zone by clicking "Add" in the lower left corner. We set the name and specify Type: "Layer3", the rest is left by default.
Network interfaces
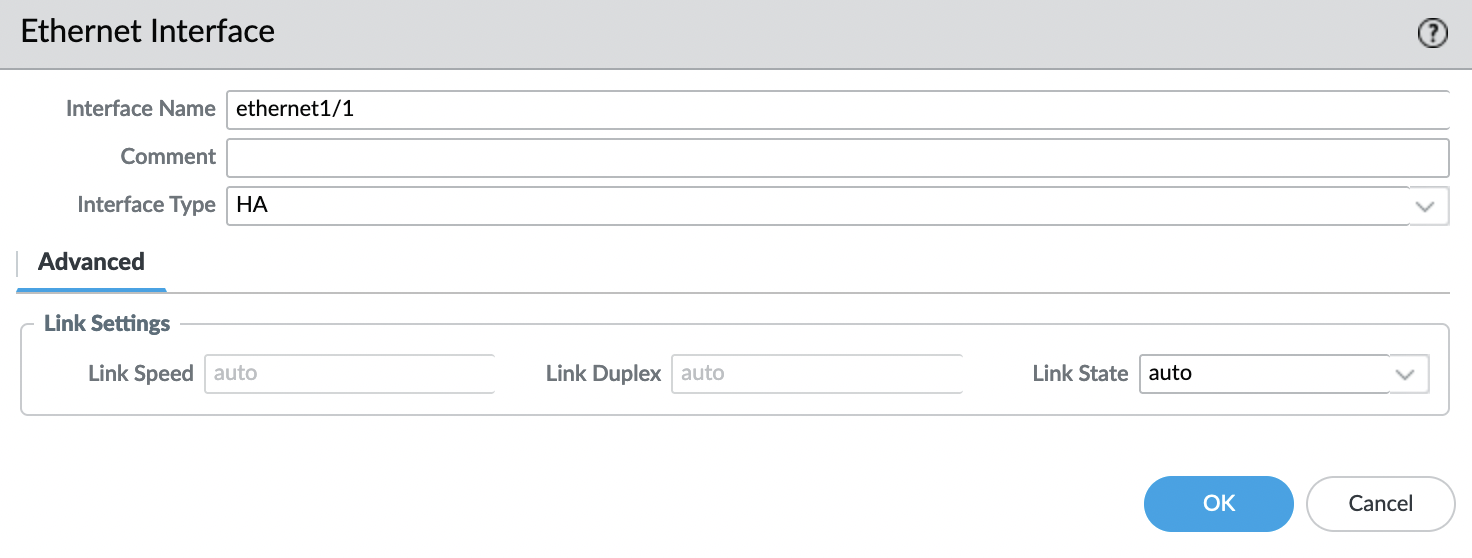
Now go to the tab "Network" -> "Interfaces" -> "Ethernet" and select the interface "ethernet1/1", specify that the "Interface Type" will be "HA" and click "OK"
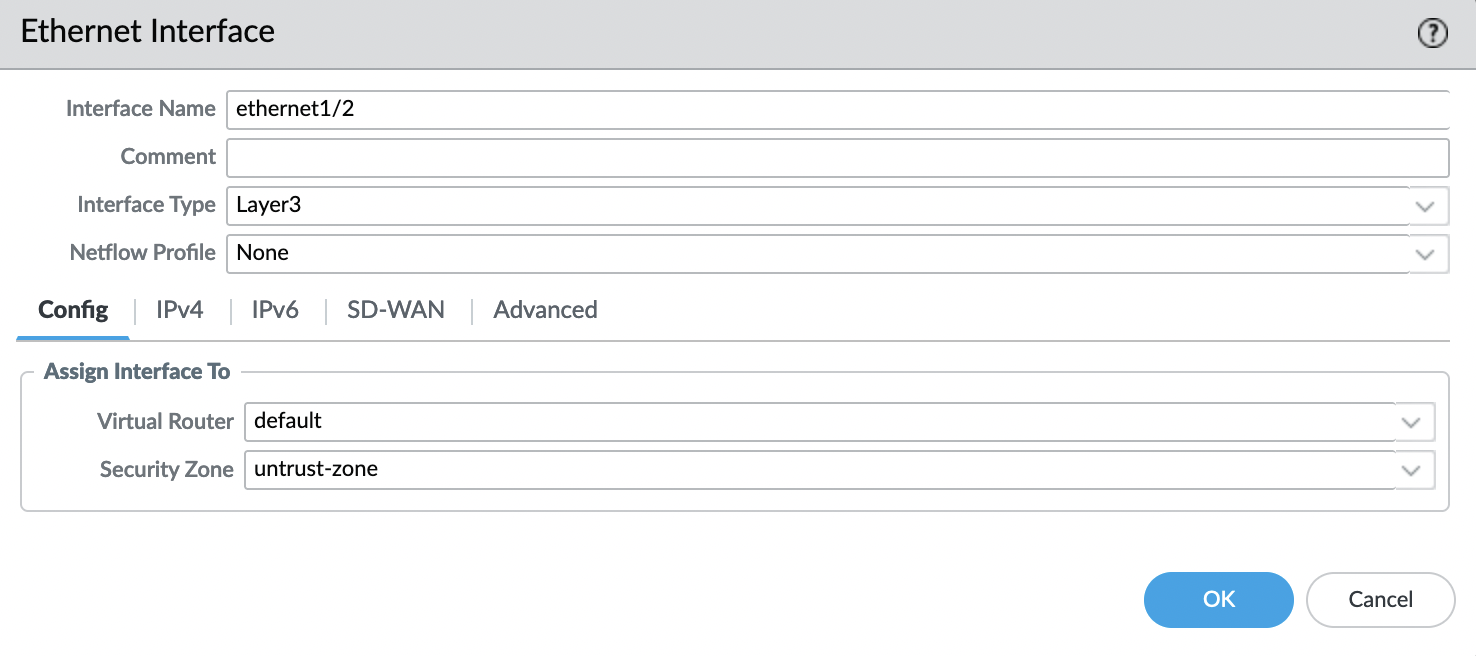
Interface "ethernet1/2":
- Interface Type: Layer3
Config:
- Virtual Router: default
- Security Zone: untrust-zone
IPv4
Type: DHCP Client
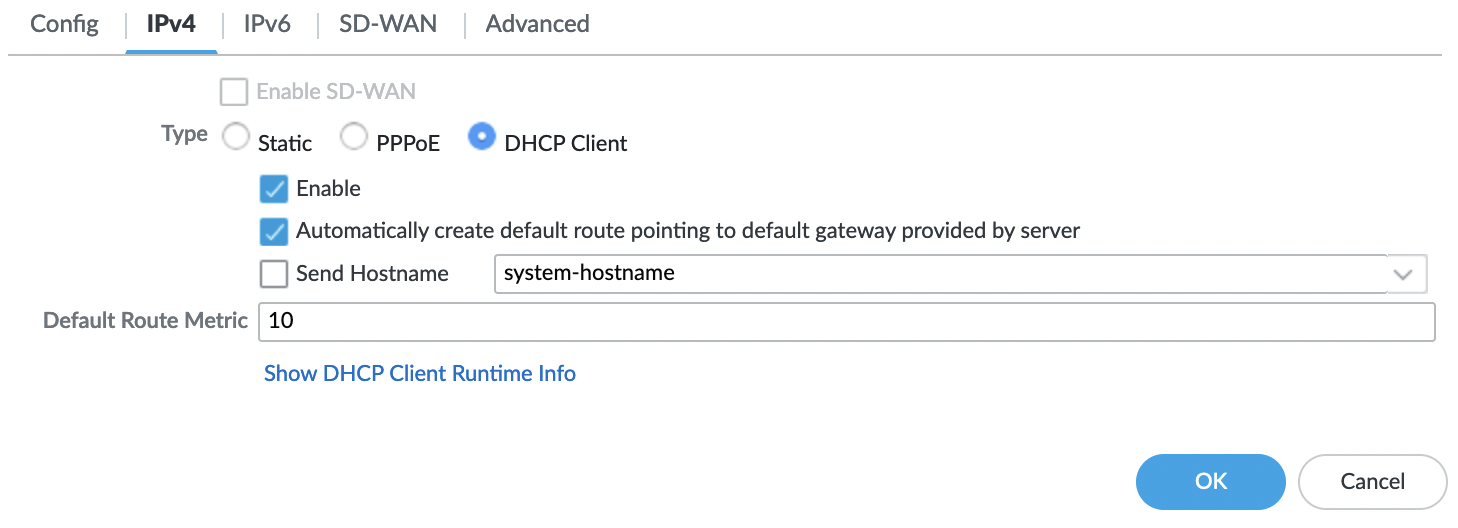
Interface "ethernet1/3" we repeat the same steps as for "ethernet1/2" with the exception of "Security Zone", for this interface we specify "trust-zone"
As a result, 3 interfaces must be configured

HA: Data link
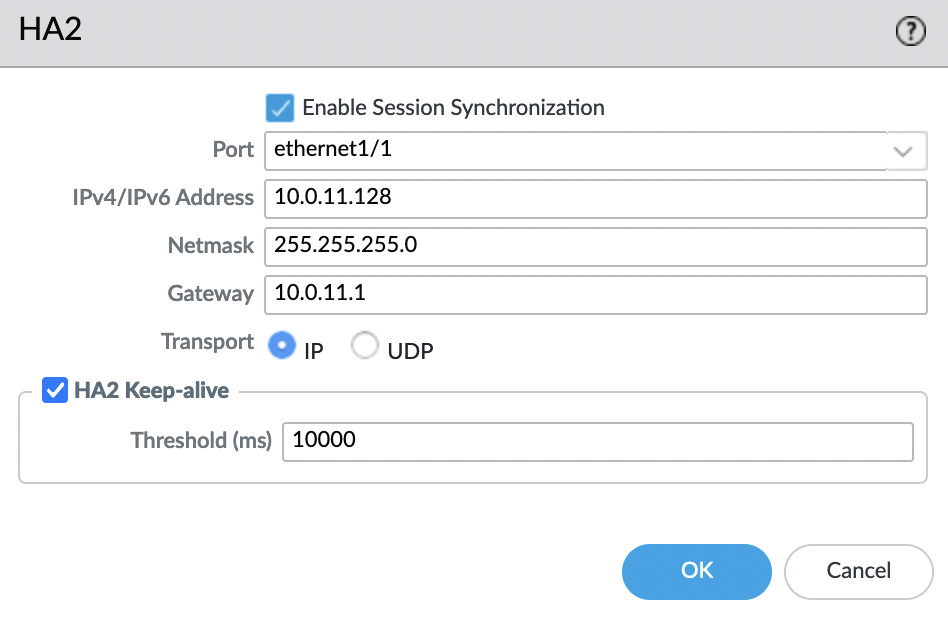
We return back to the HA setting, go to "Device" -> "Setup" -> "High Availability" -> "HA Communications" -> "Data Links"
- Port: ethernet1/1
- IPv4/IPv6 Address: IP address of the HA interface of the same instance
- Netmask: Netmask of our subnet
- Gateway: The first IP address in our network, is a required parameter, because instances are on different subnets
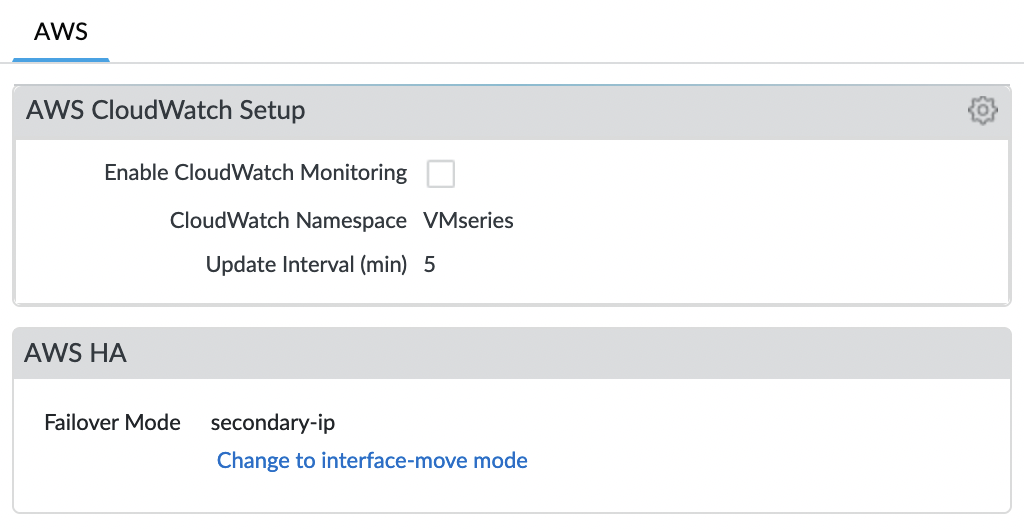
We also need to make sure we use "secondary-ip" as the HA mode. To do this, go to the "Device" tab and find the item "VM-Series"
And now we need to save our changes, for this select the "Commit" button in the upper right corner.
We repeat all the steps on the second instance, except that "Device priority" is left by default – "100"
HA Widget
In order to see the HA status in the Web console, you need to add a widget to the main panel, to do this, go to the "Dashboard" tab and select "Widgets" -> "System" -> "High Availability"
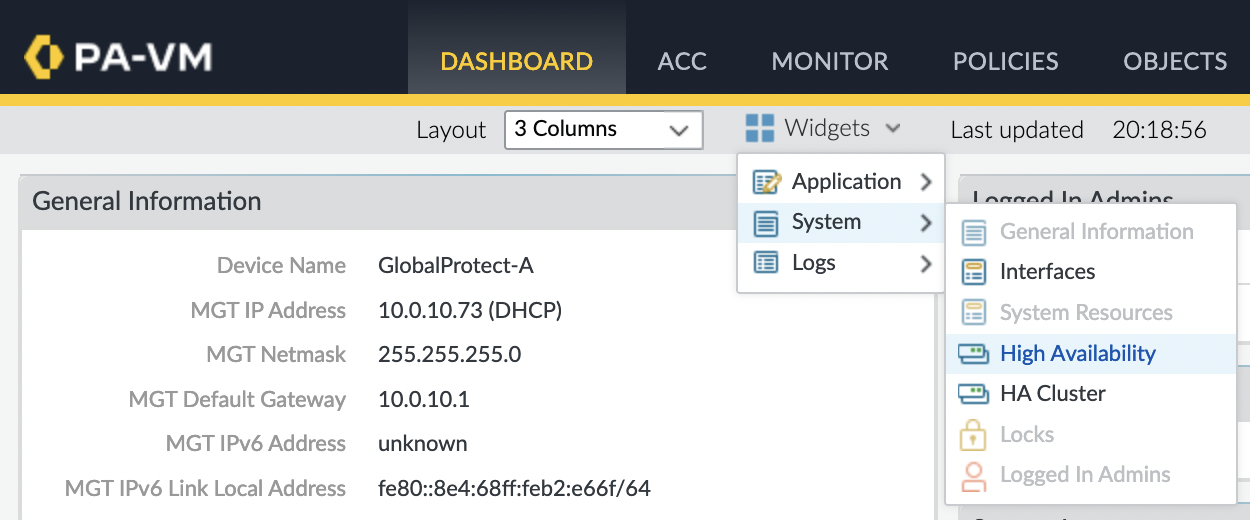
If you configured everything correctly, you will see the following on the widget
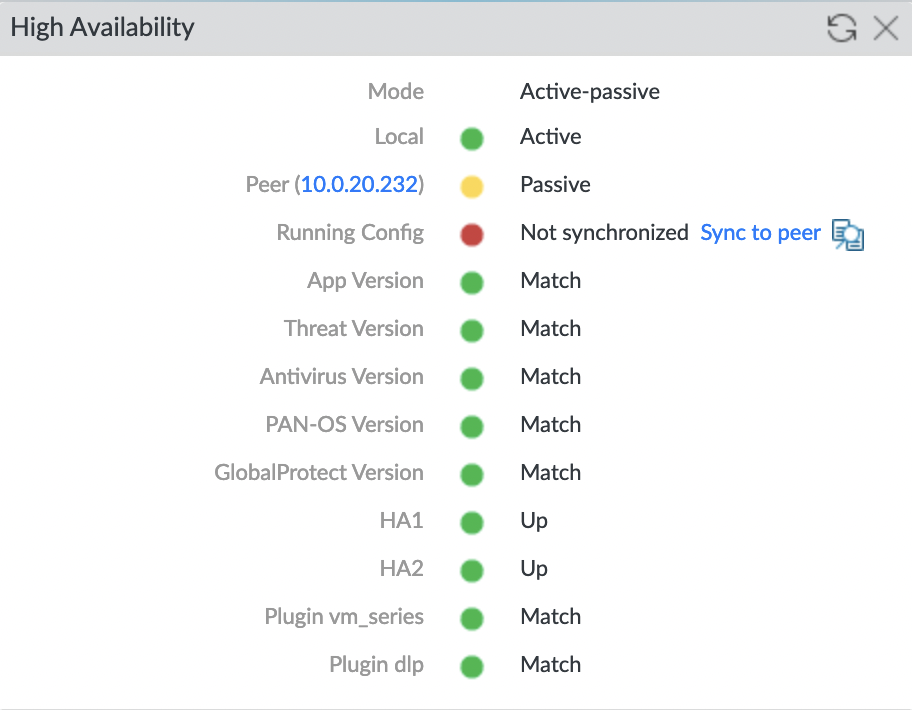
Run configuration synchronization

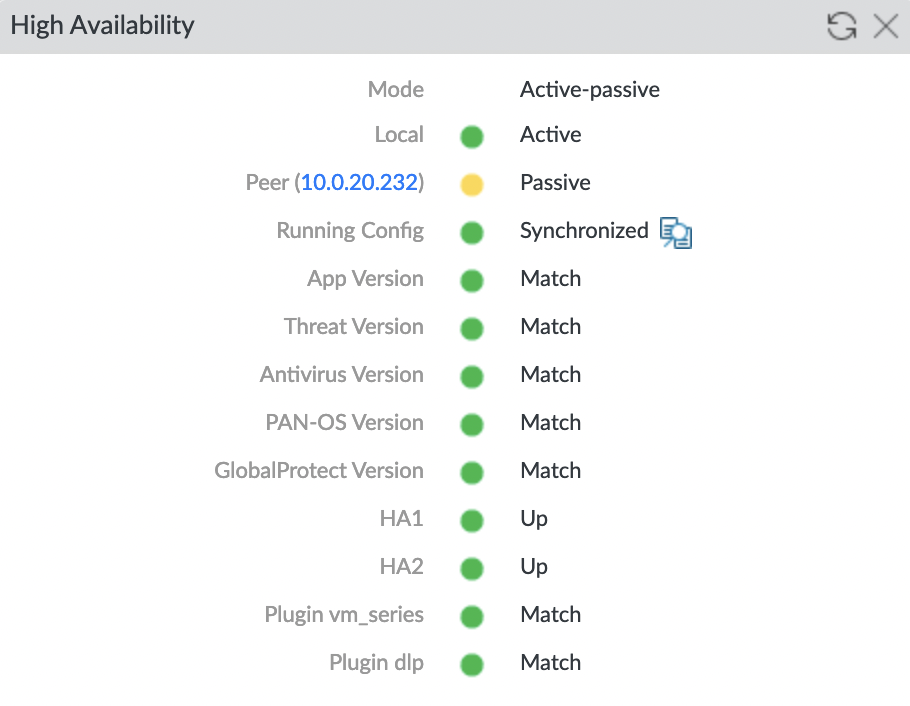
And after a couple of minutes, synchronization should be completed
HA Test
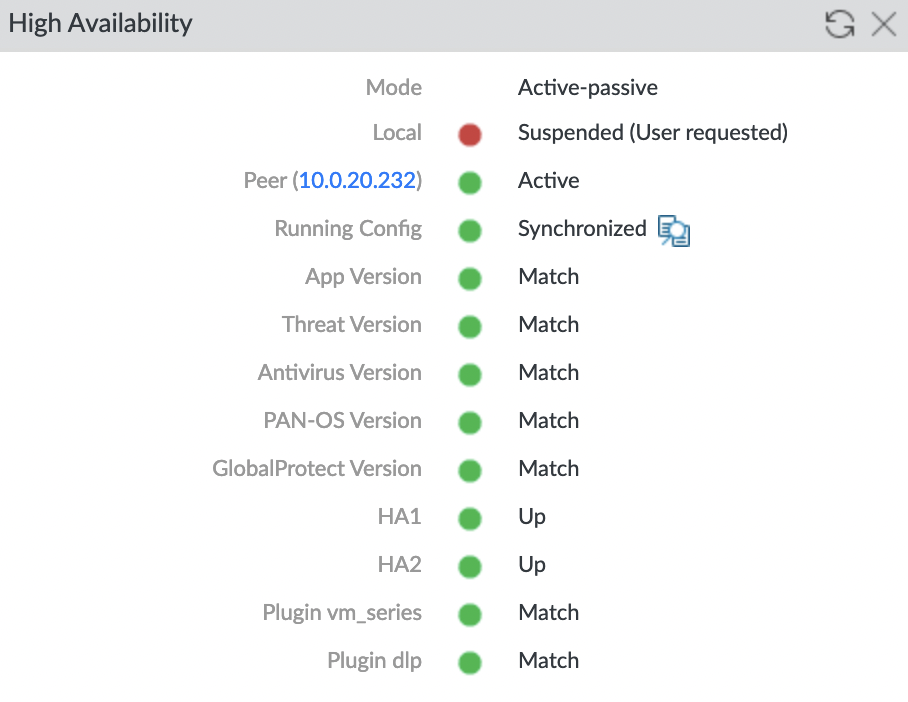
Now we need to check that the HA mode is working, for this, we do not need to stop the active instance or otherwise simulate an accident from the AWS side. It is enough to go to the "Device" tab on the active firewall and then "Setup" -> "High Availability" -> "Operational Commands" and click "Suspend local device for high availability"
Confirm that we want to suspend HA mode

Then go to the "Dashboard" panel and check that the HA mod is paused and Peer is now the active firewall
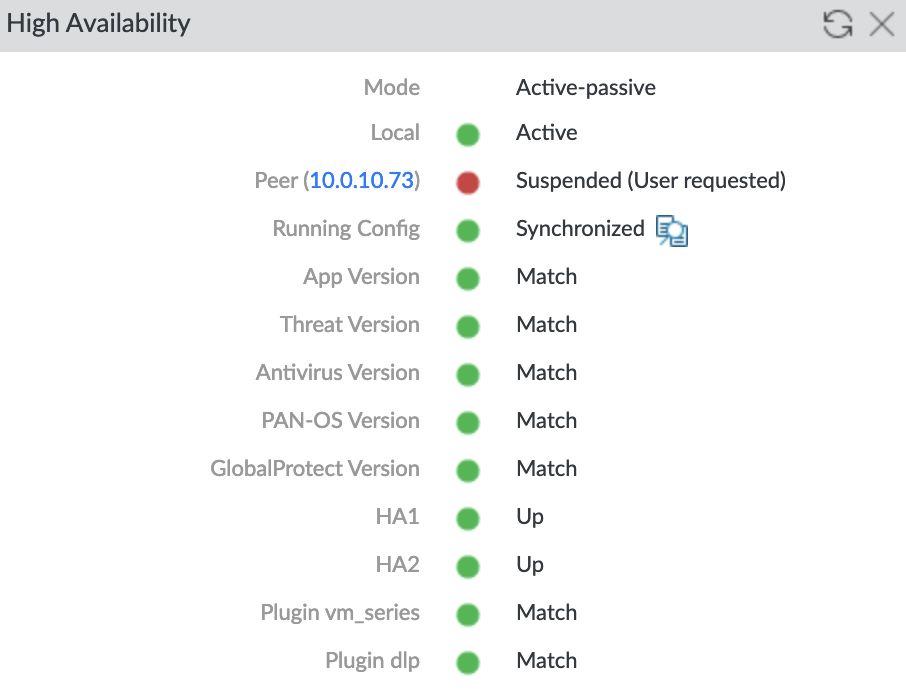
Also, make sure the firewalls are swapped, check the "High Availability" widget on the second firewall
And the last thing left to check is that the EIP for GlobalProtect has been ported to the new active firewall. As you can see, EIP is successfully associated with an instance in AZ B
