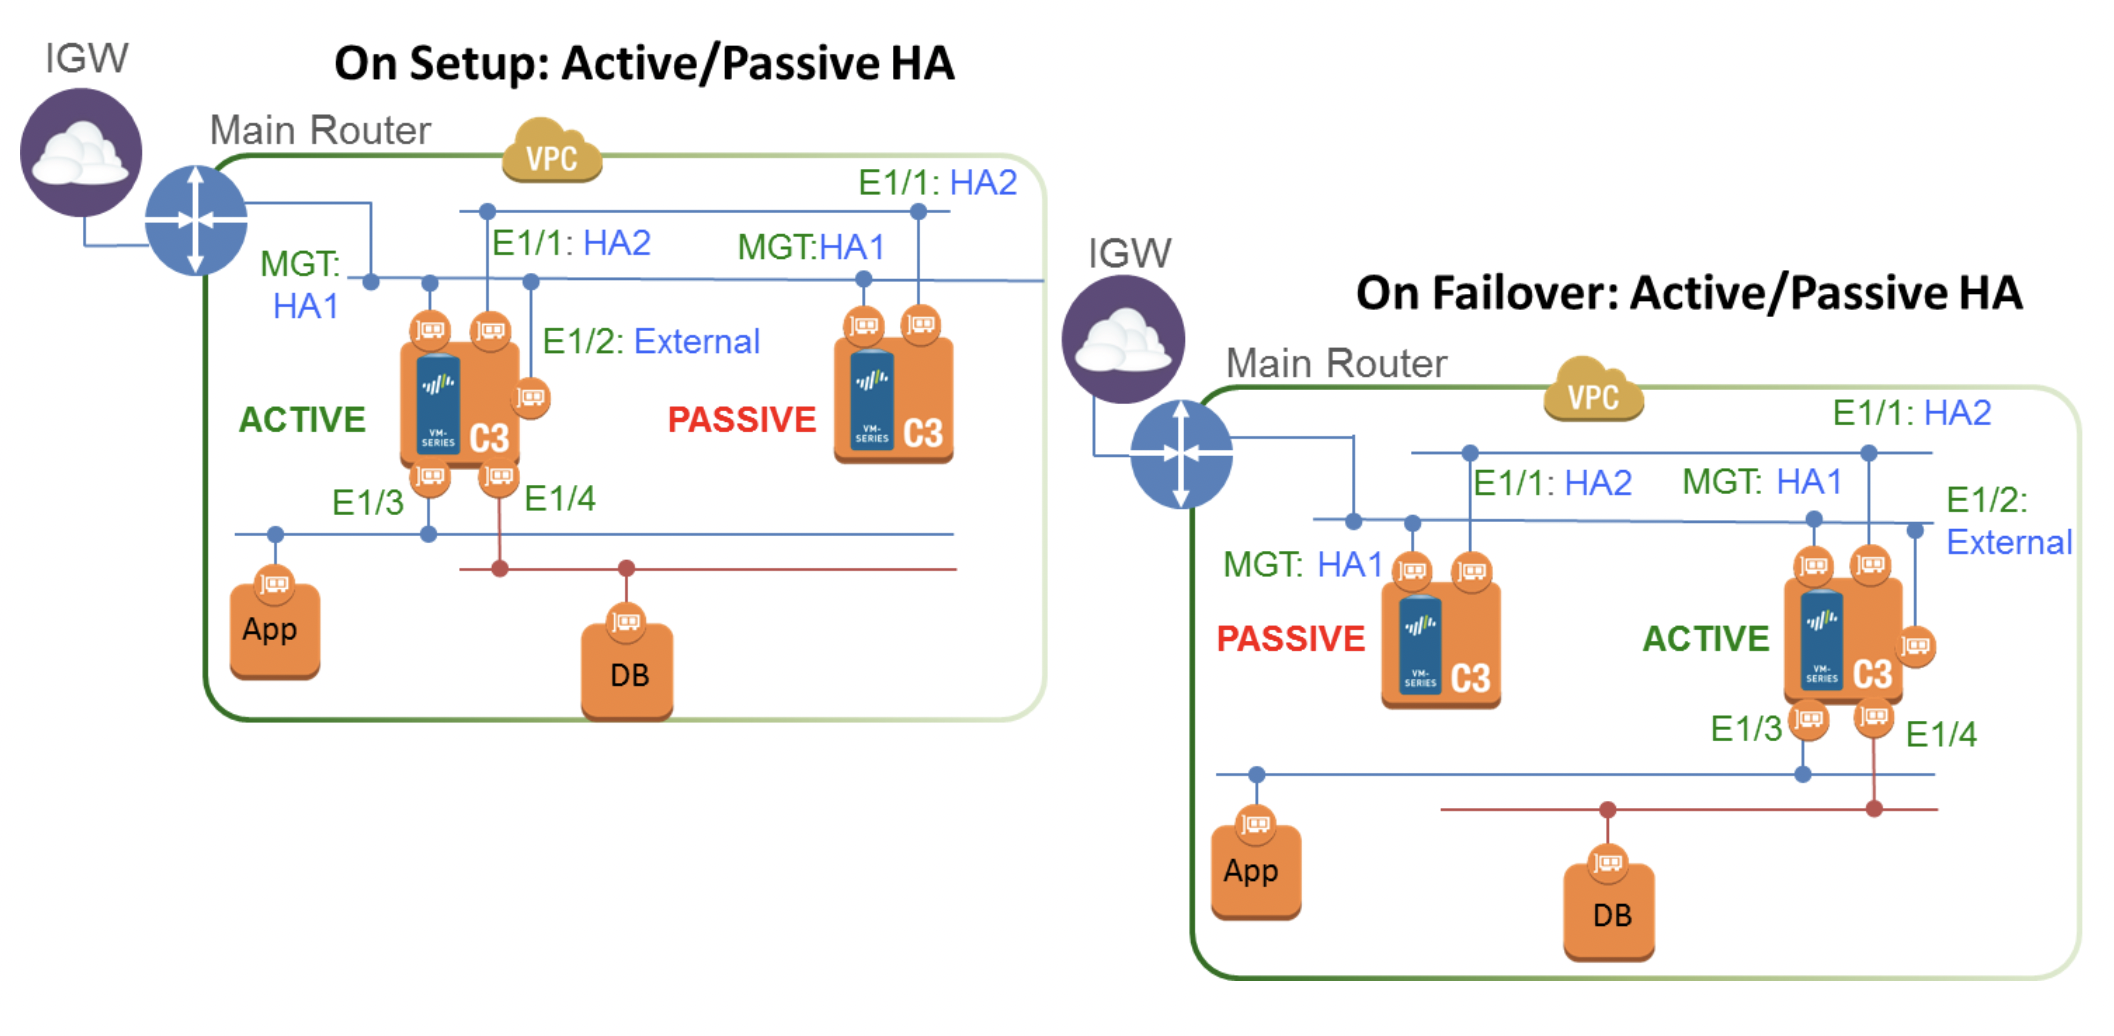
GlobalProtect supports various authorization methods, including SAML 2.0 IdP. This example shows how to set up authorization using AWS SSO.
AWS
Before adding SAML IdP, you must already have AWS Directory Service configured
To begin with, let’s add an application, for this go to "IAM Identity Center" -> "Application assignments" -> "Application"
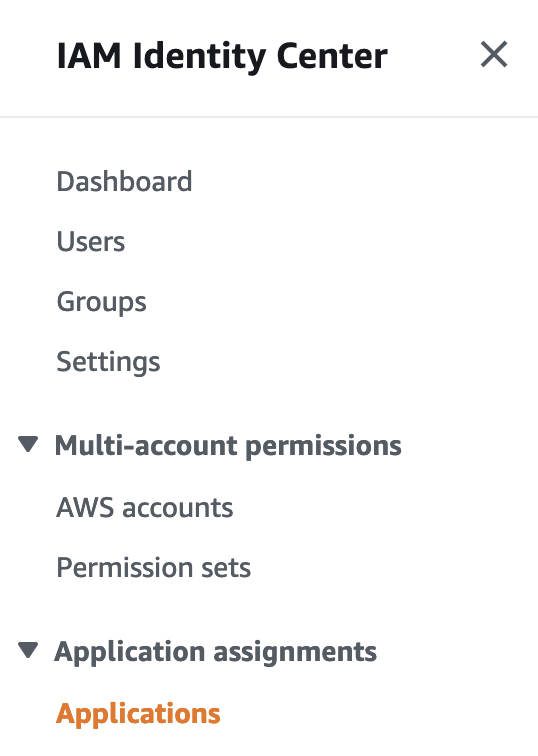
And click "Add Application"

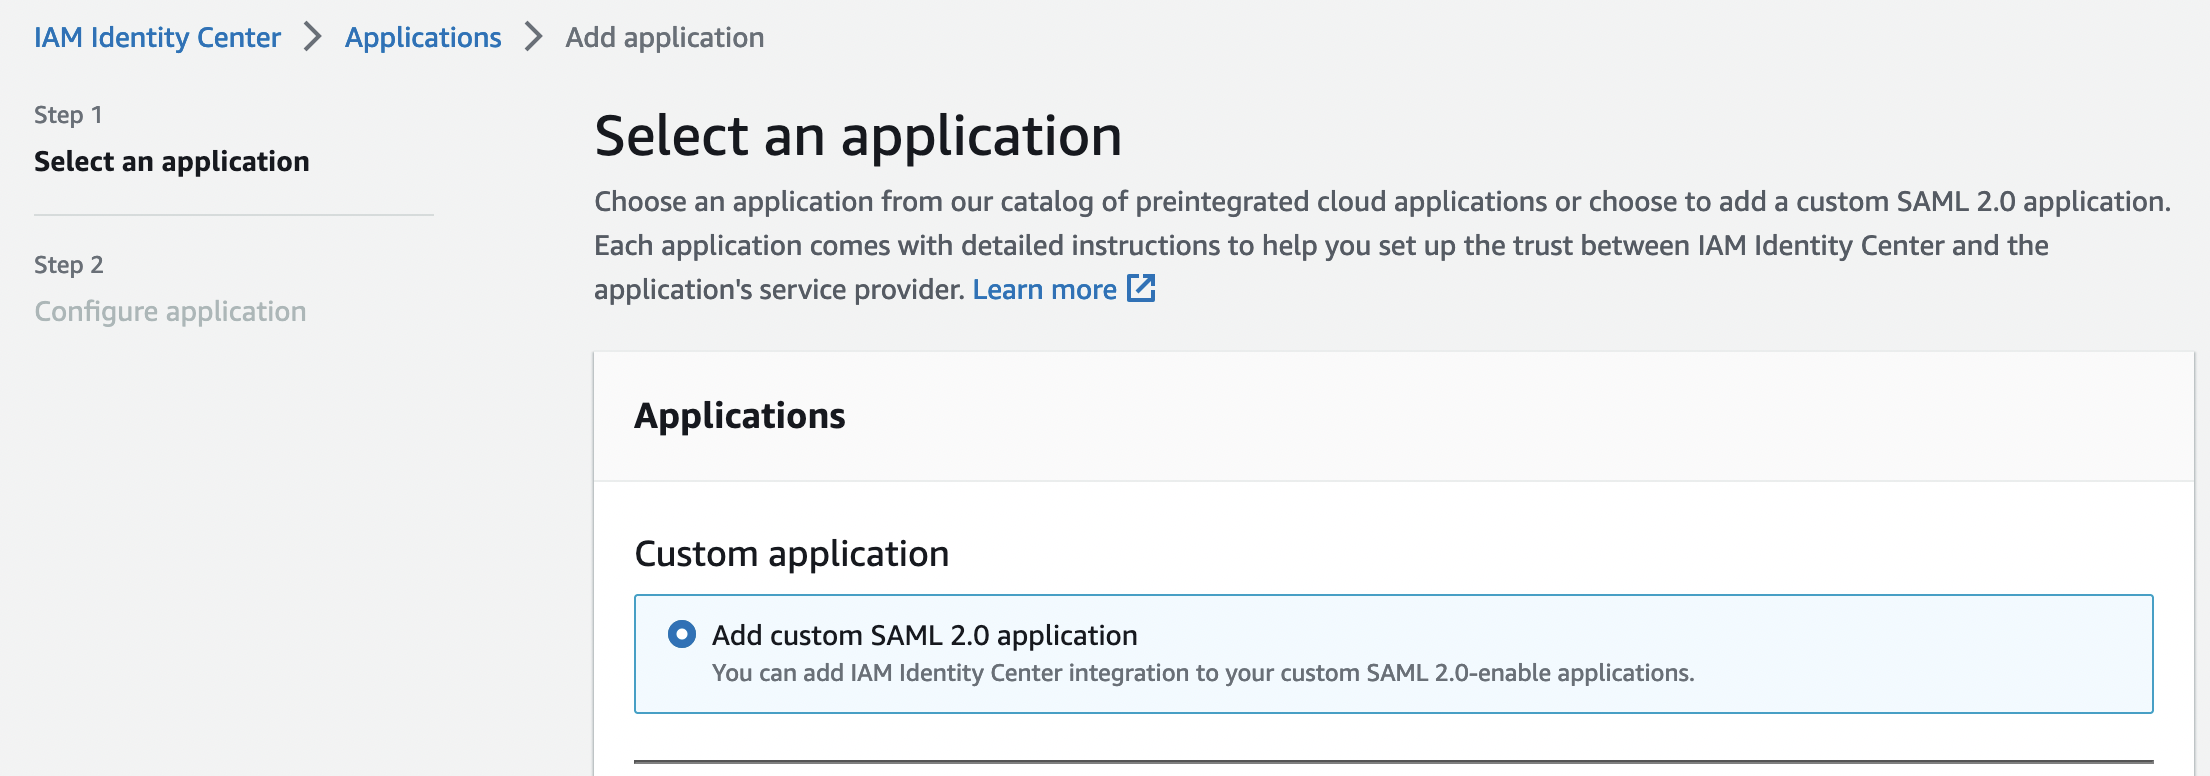
There is no application for GlobalProtect in the list, so we indicate it will be a custom application and click "Next"
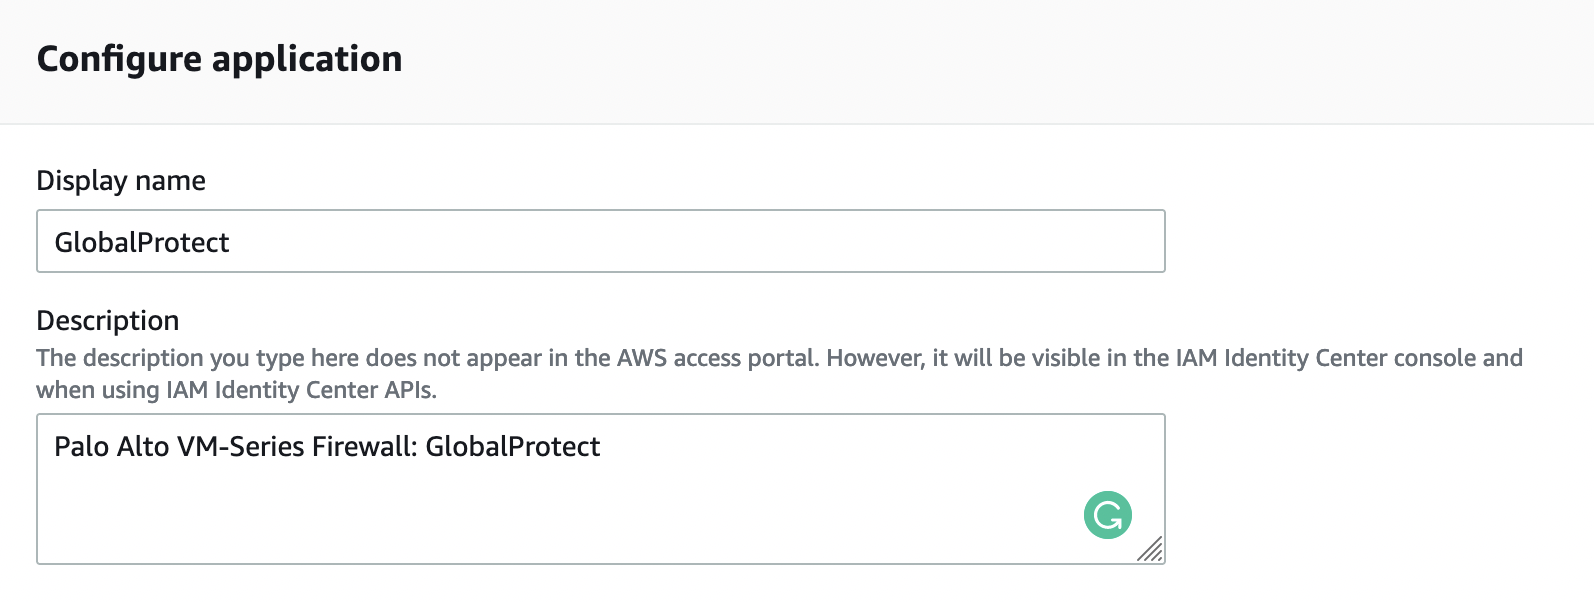
Specify a name and description
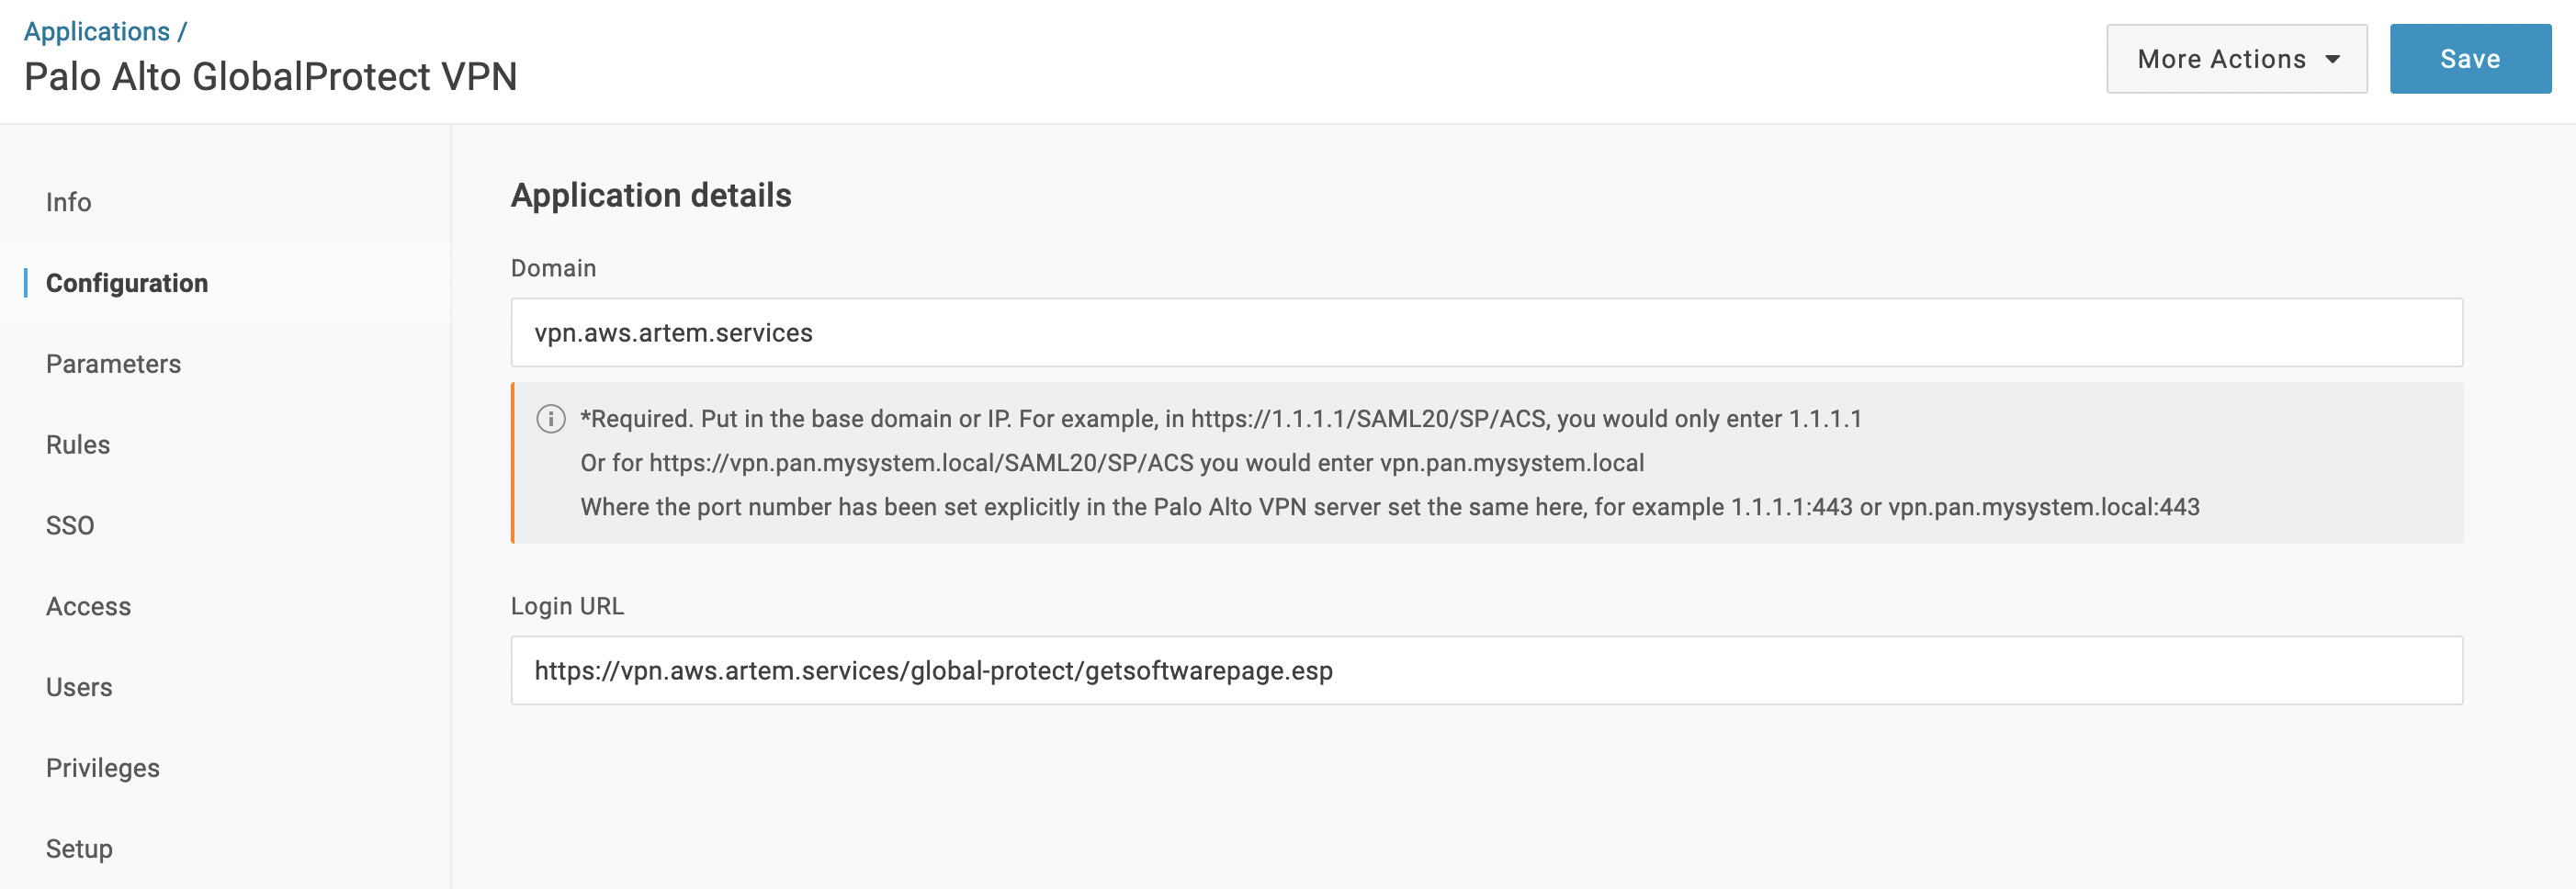
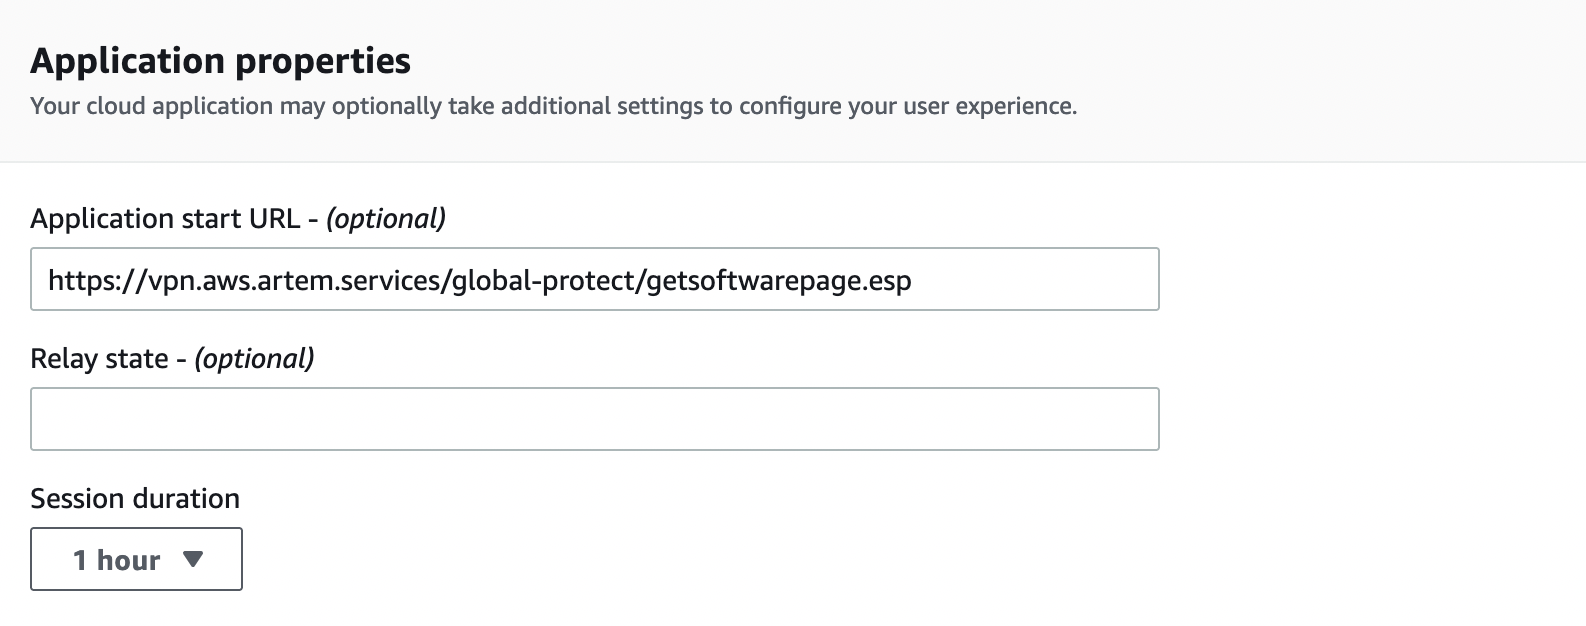
Next, in the "Application properties" section, in the "Application start URL" field, specify the following:
https://YOUR_GP_DOMAIN/global-protect/getsoftwarepage.esp
In order for us to get to the GlobalProtect client download page from the AWS SSO portal
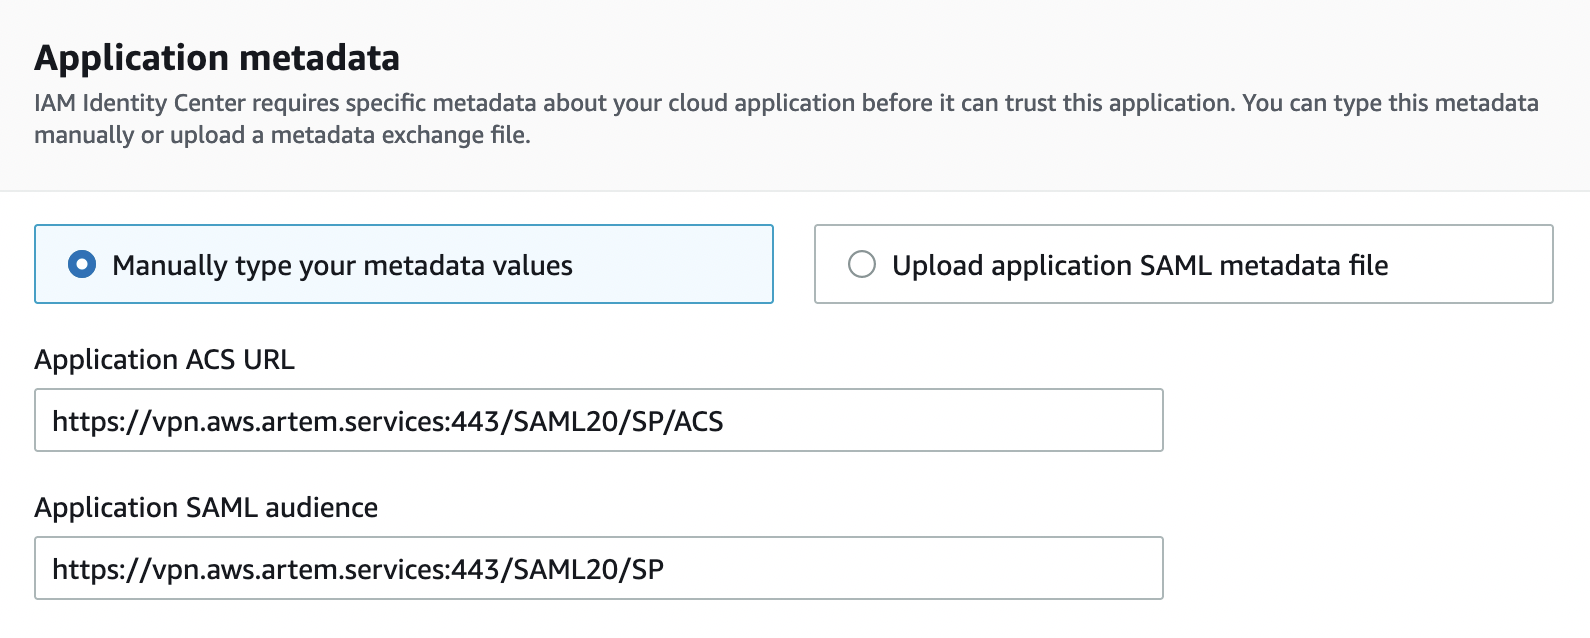
In the "Application metadata" section, in the "Application ACS URL" field, specify the following:
https://YOUR_GP_DOMAIN:443/SAML20/SP/ACS
And "Application SAML audience":
https://YOUR_GP_DOMAIN:443/SAML20/SP
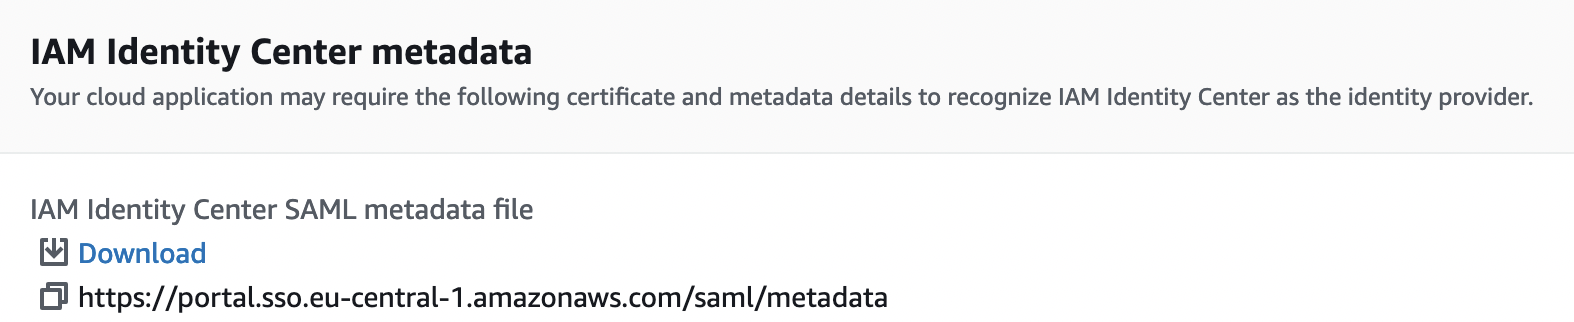
Then download the SAML Metadata file, scroll down and click "Submit"
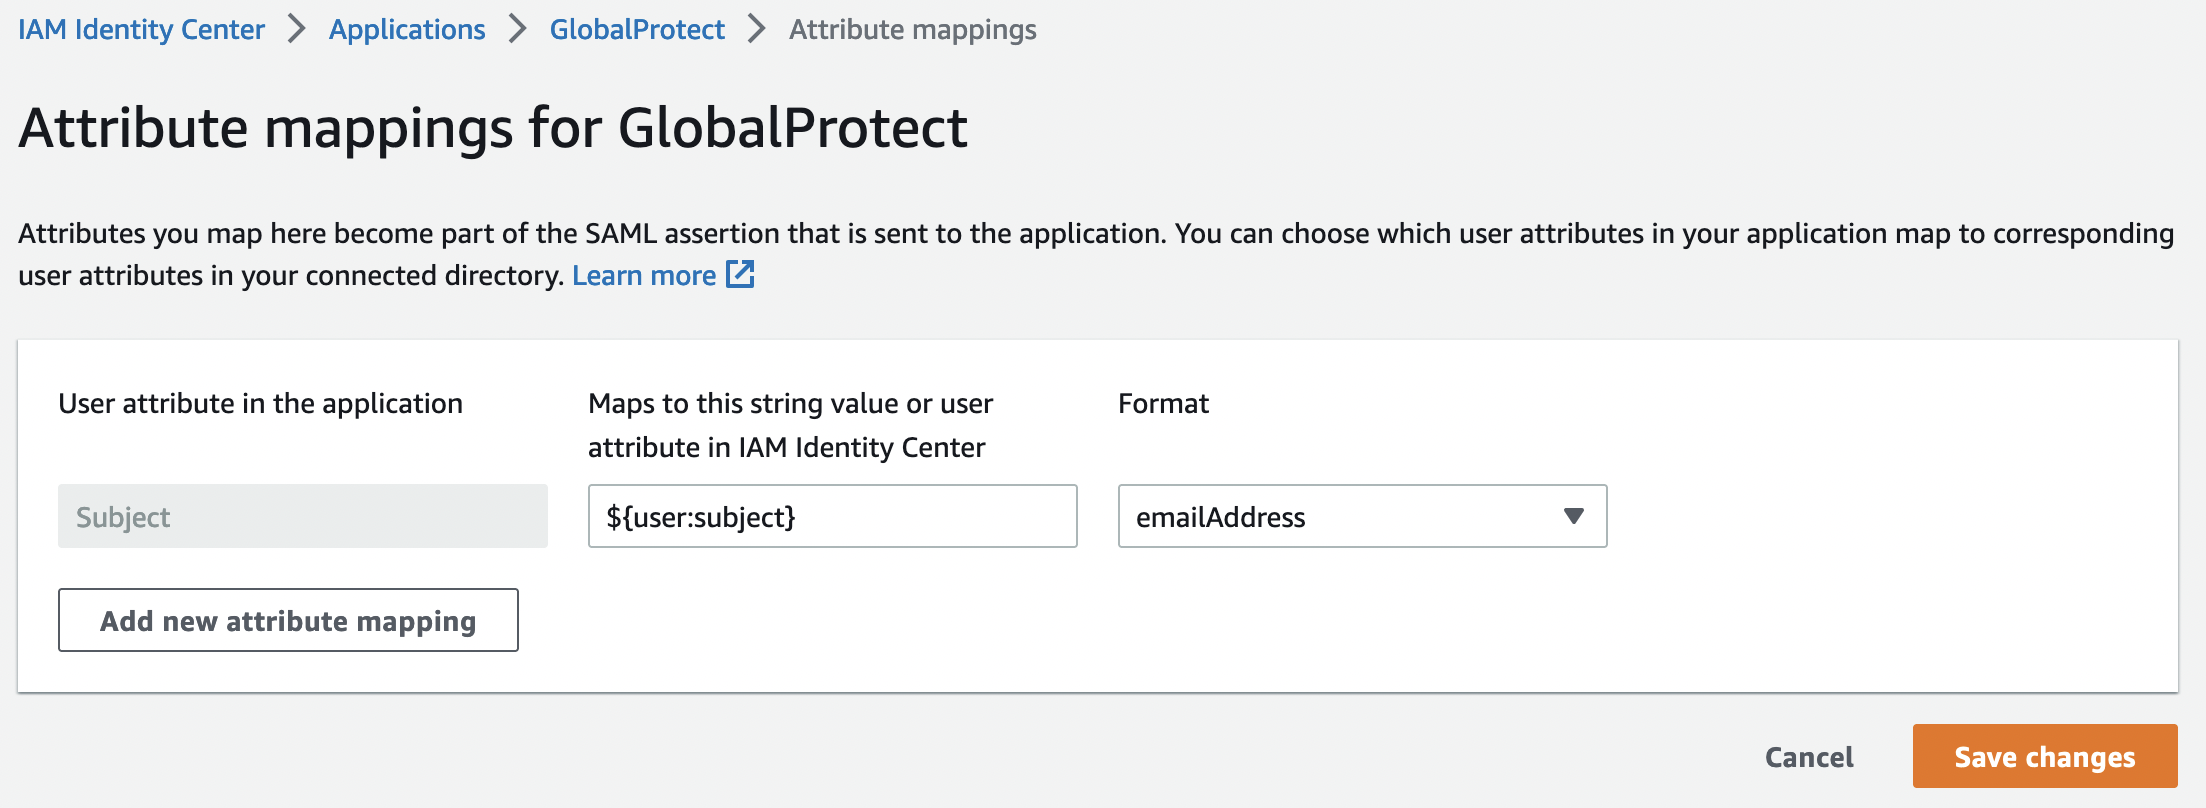
After adding the application, you need to make sure that the correct attribute format is used. To do this, in the "Actions" tab, select "Edit attribute mapping"
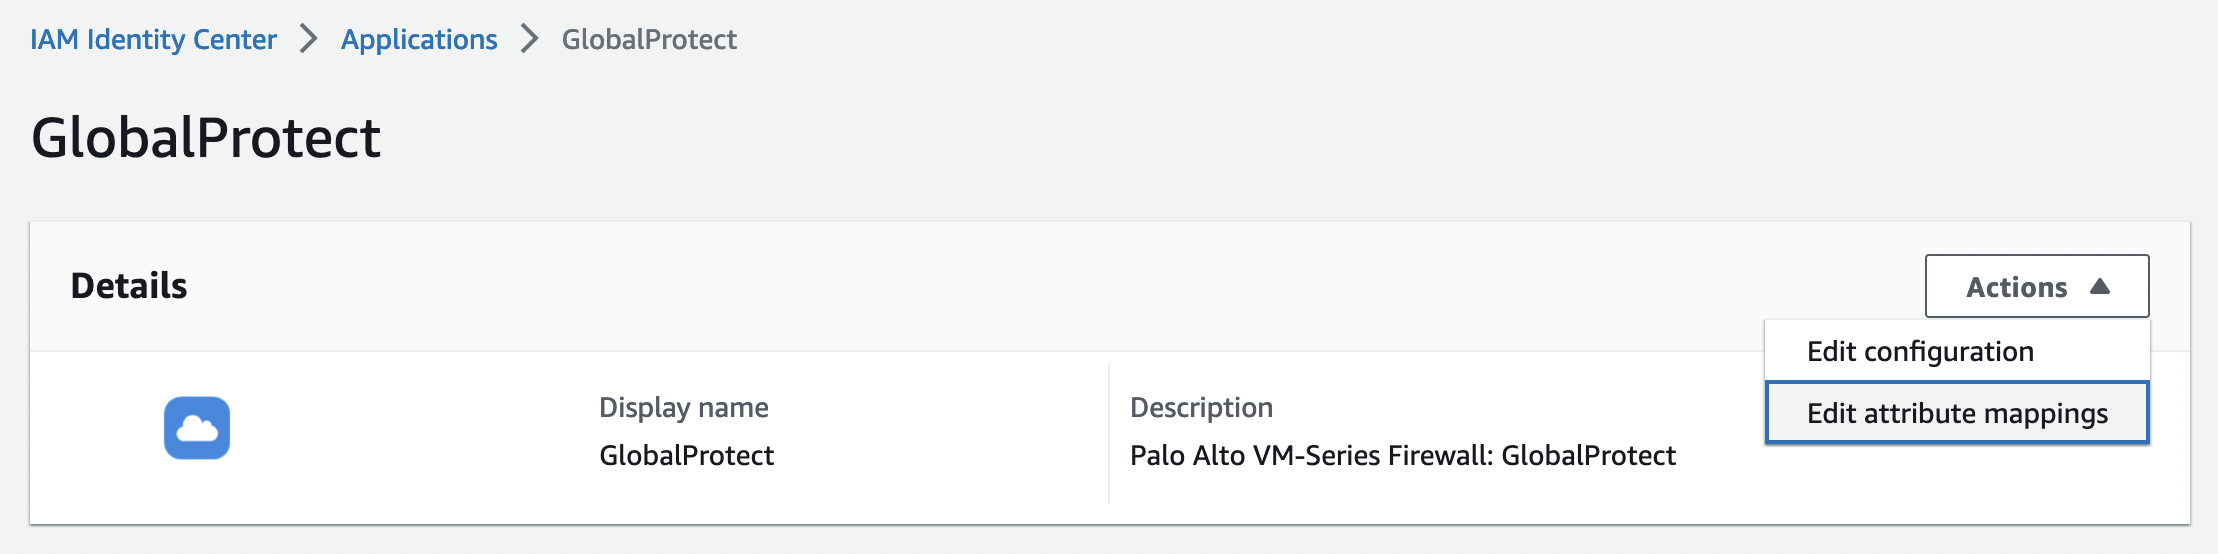
Required format:
- Value: ${user.subject}
- Format: emailAddress
This completes the configuration from the AWS side.
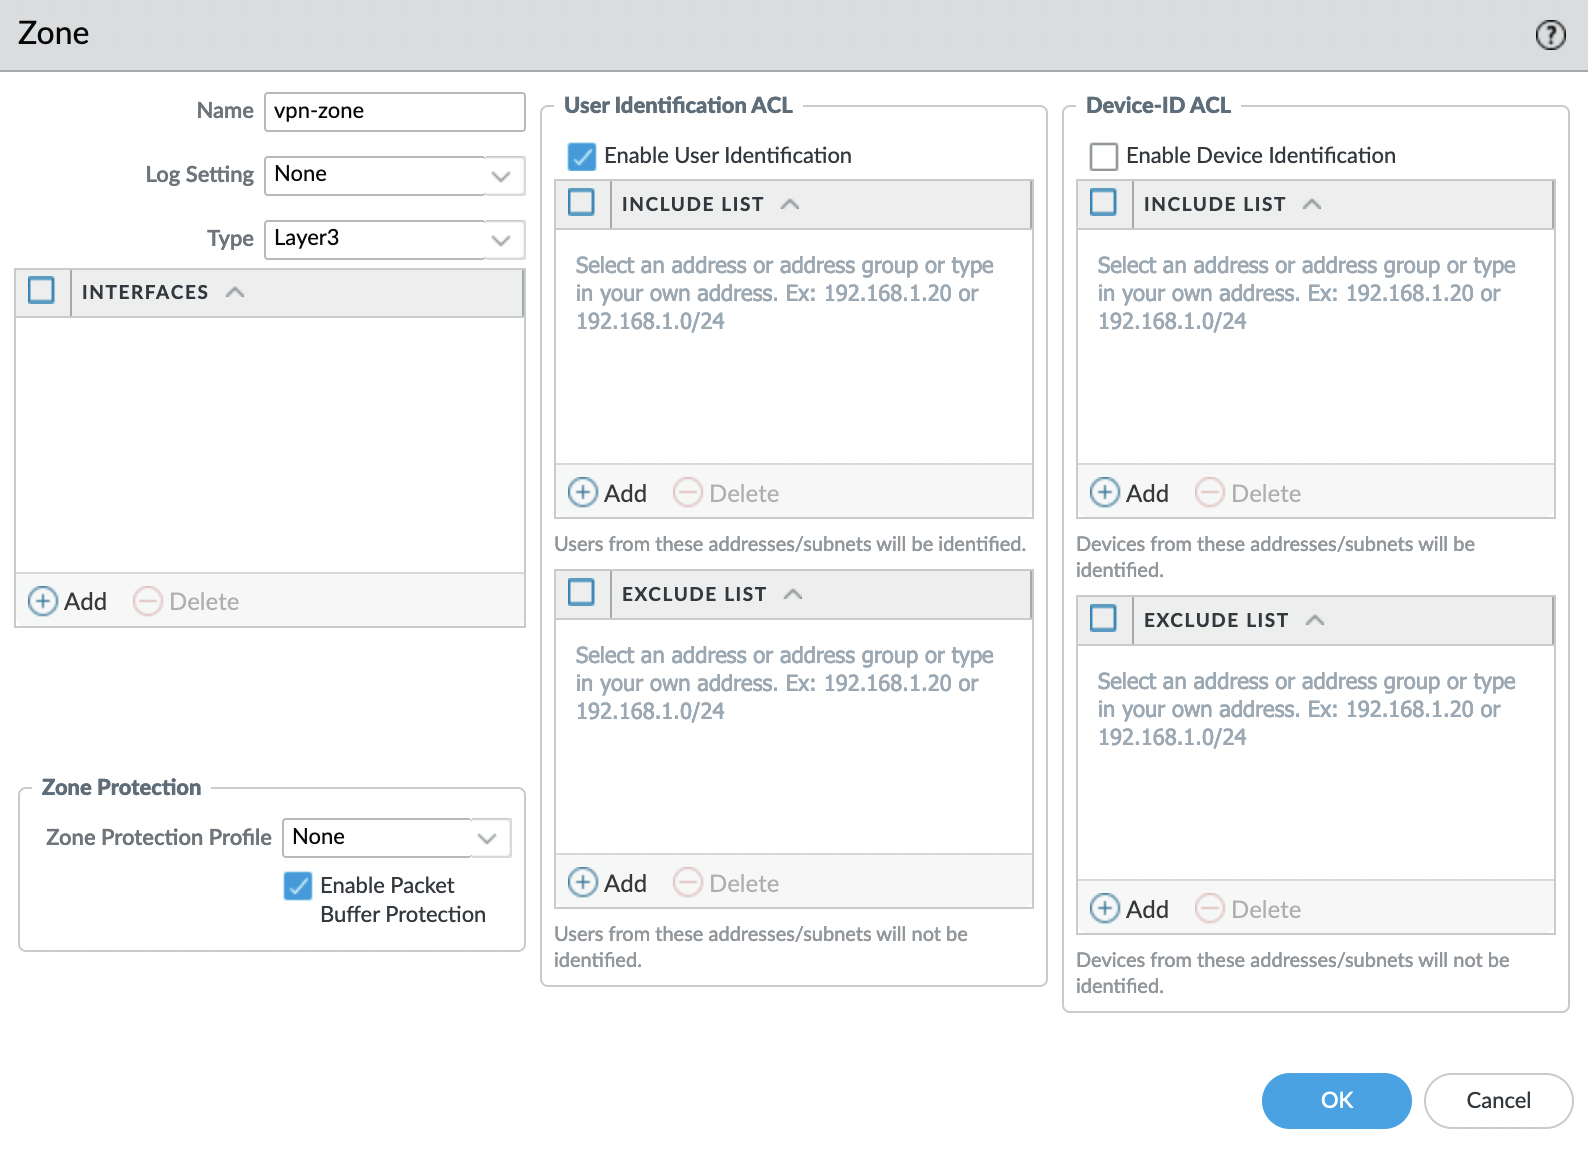
Firewall
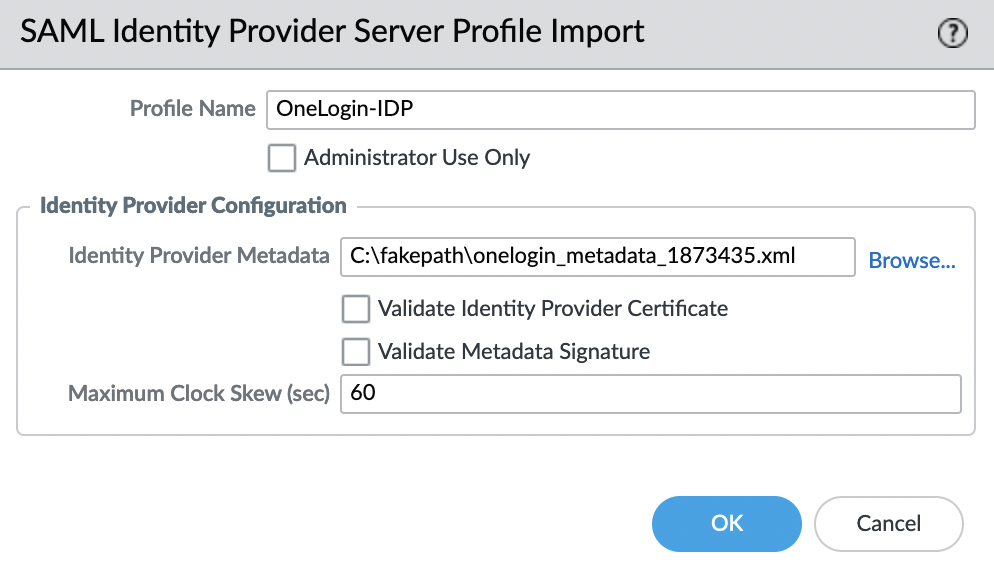
Import the SAML Metadata file, for this go to the "Device" -> "Server Profiles" -> "SAML Identity Provider" tab and select "Import" in the lower left corner
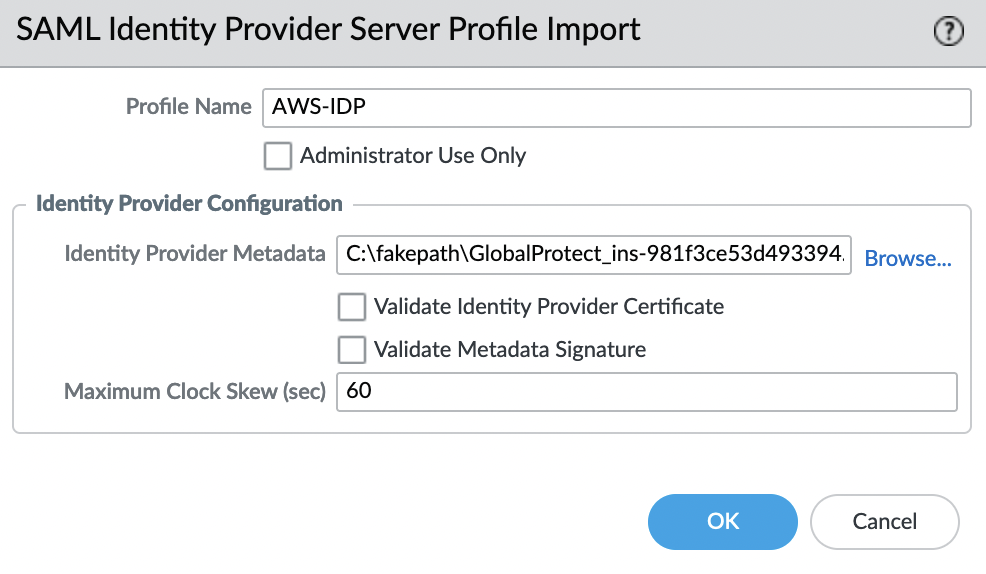
Parameter "Validate Identity Provider Certificate" – must be disabled
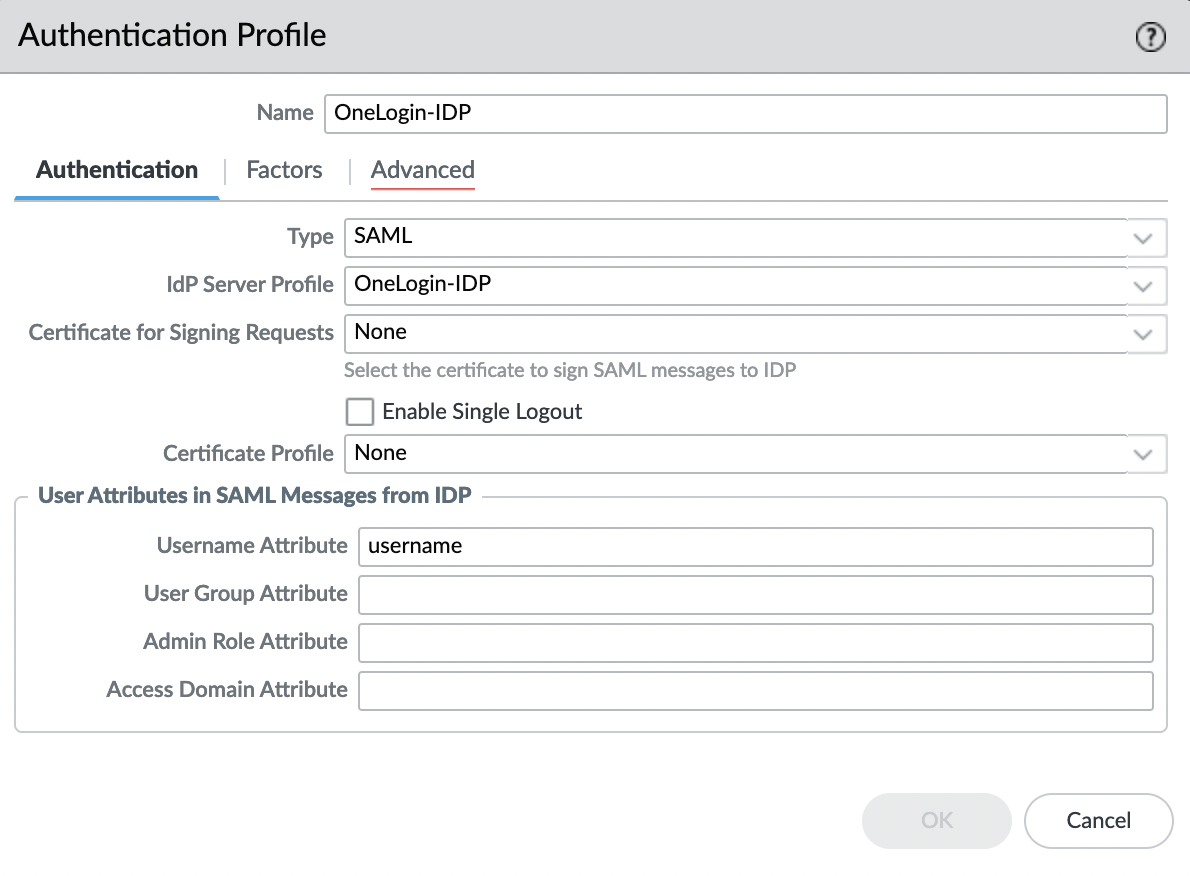
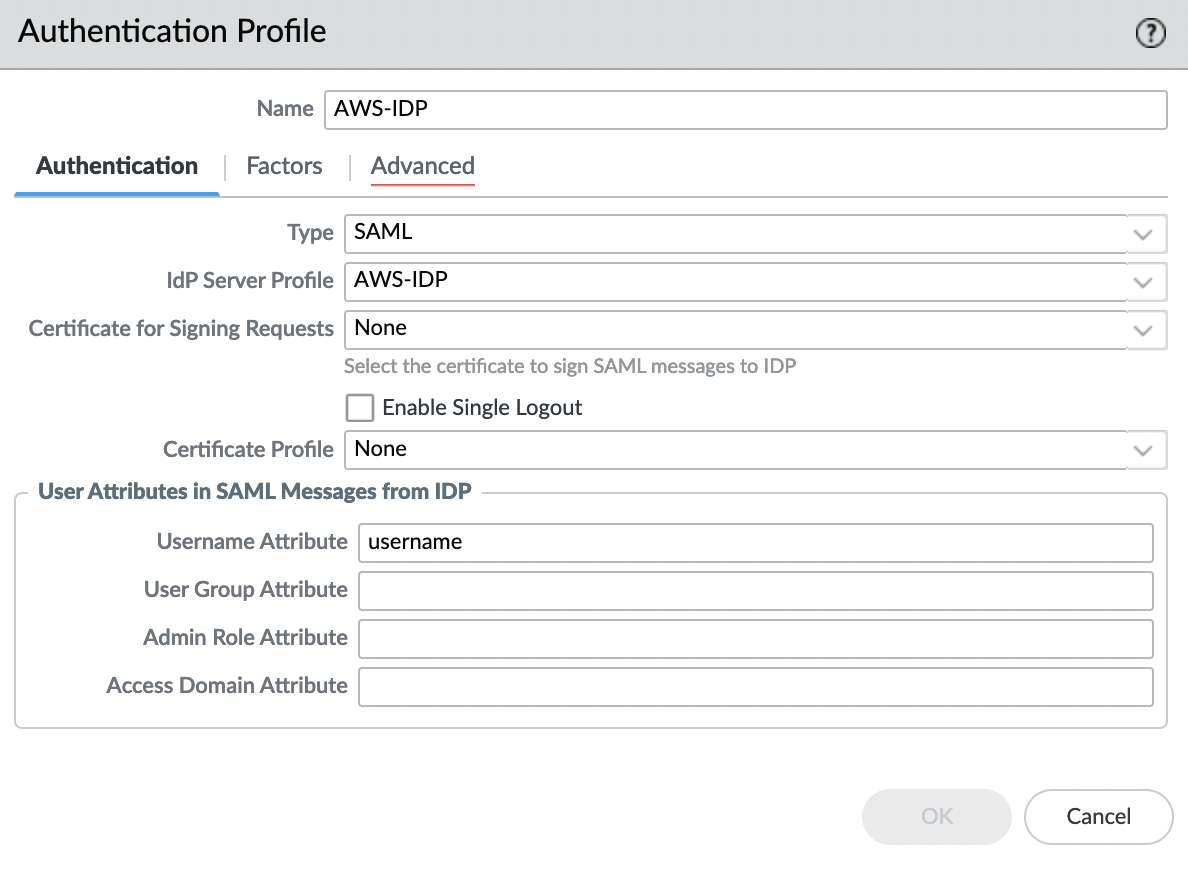
Let’s create an Authentication Profile, to do this, go to the "Device" -> "Authentication Profile" tab and select "Add". Specify a name and in the "IdP Server Profile" field select the profile that was imported in the previous step, leaving all other settings as default.
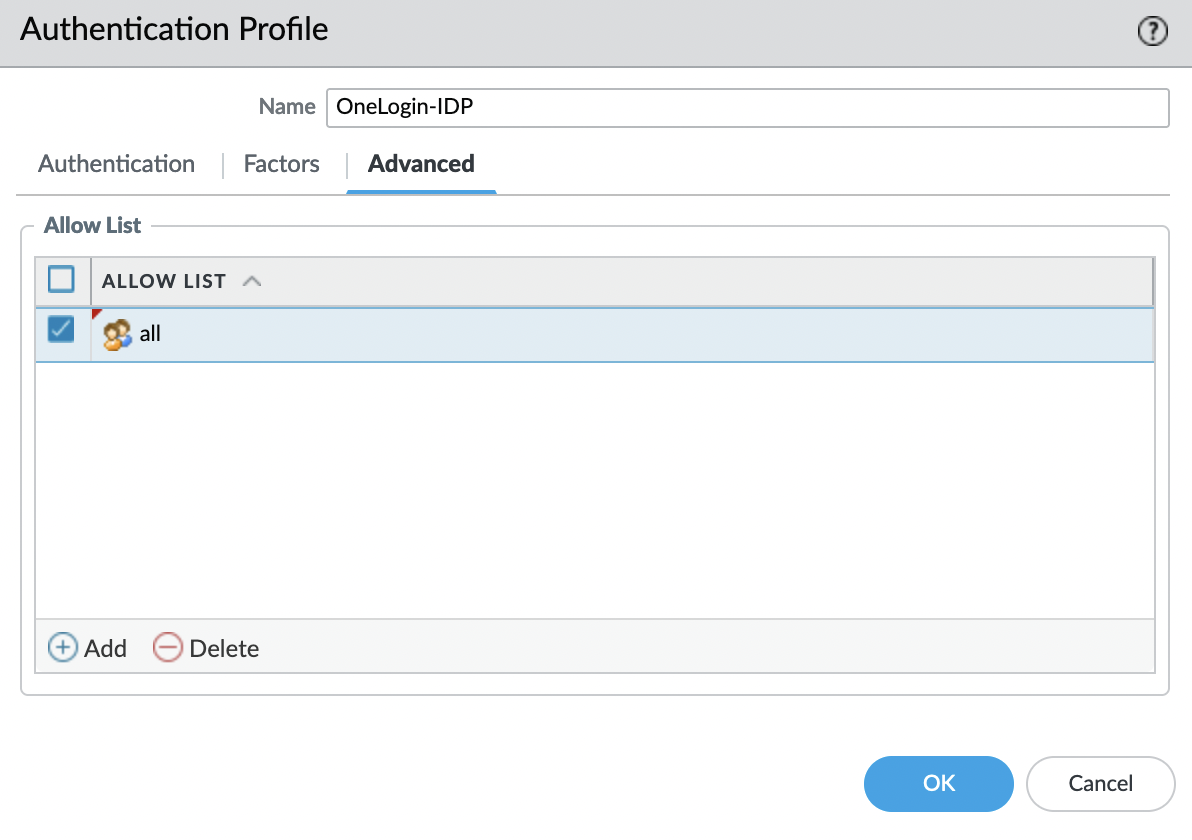
Go to the "Advanced" tab and add "all" to the "Allow List".
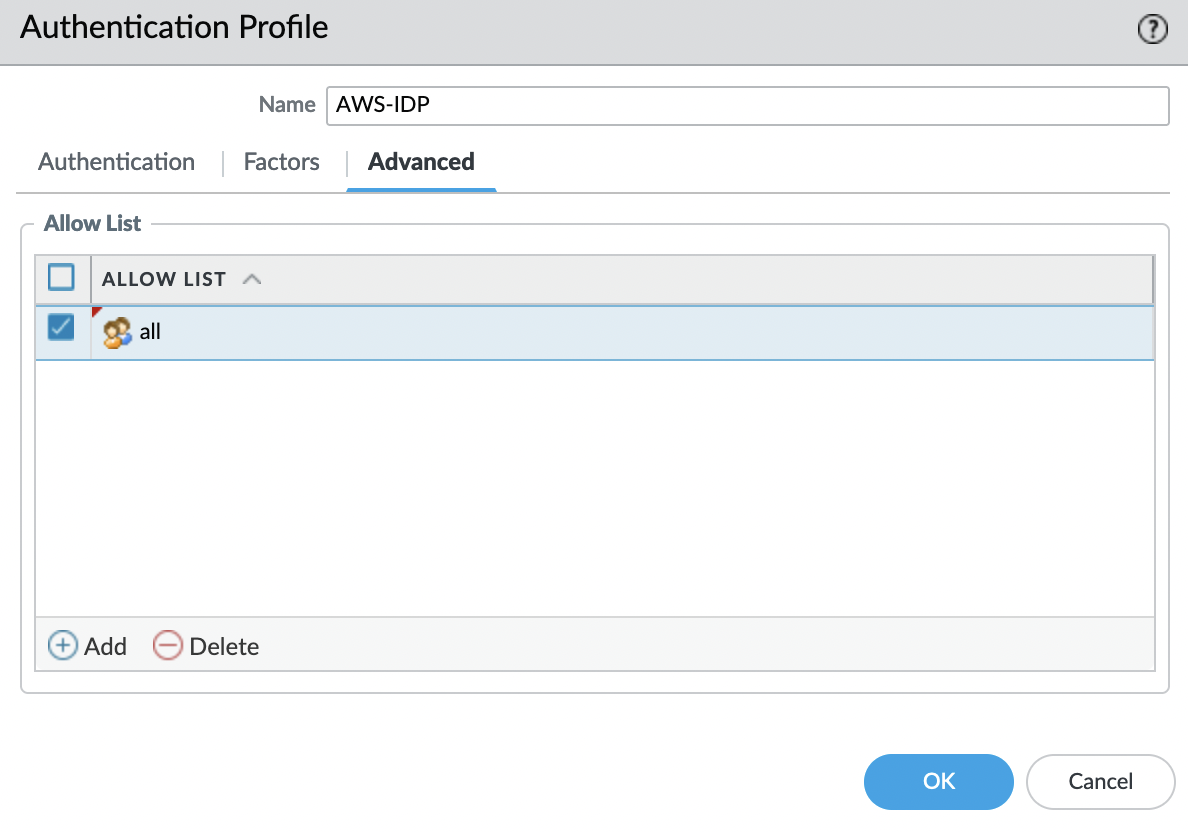
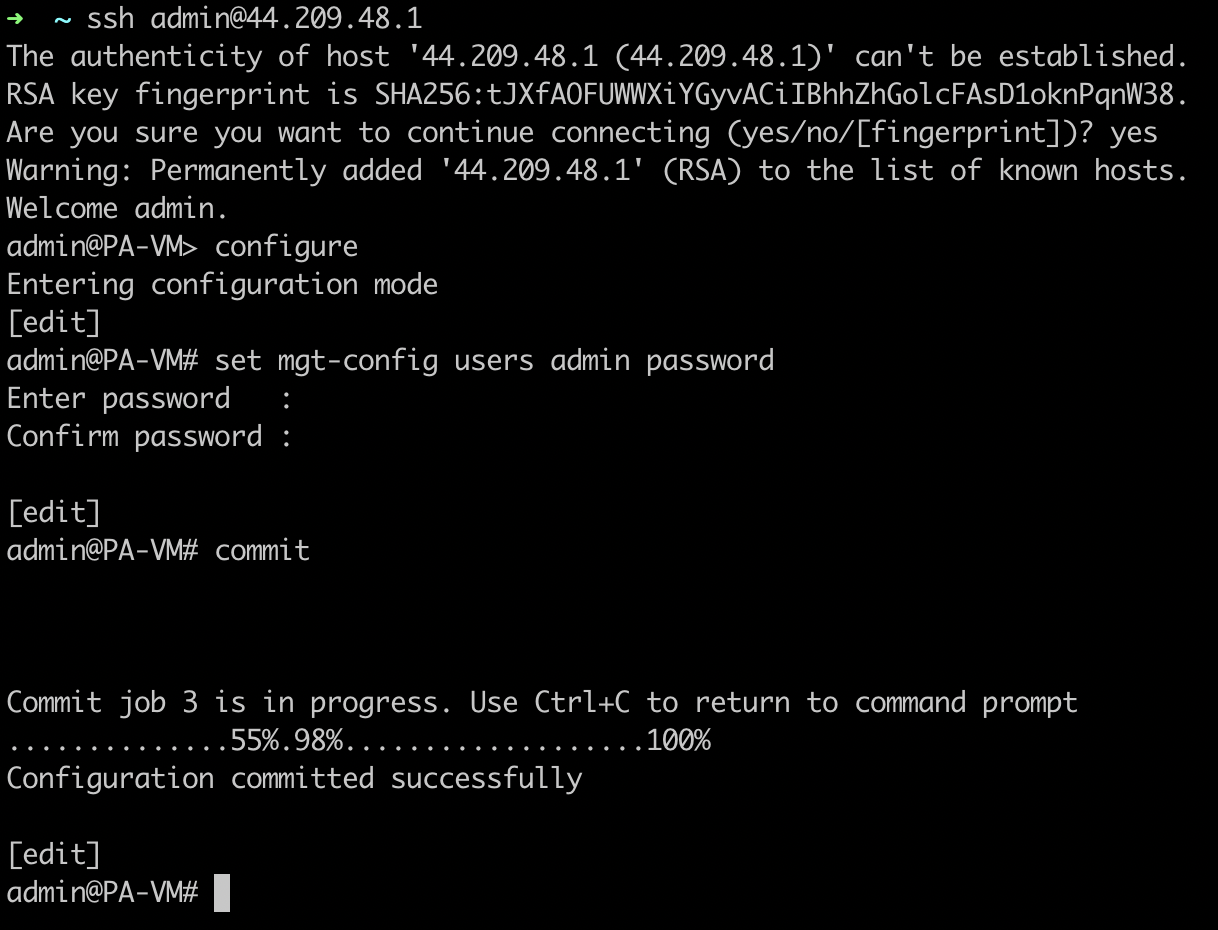
Click "OK" and save the changes, for this, click "Commit" in the upper right corner. Now we can use this Authentication Profile to authenticate with GlobalProtect.