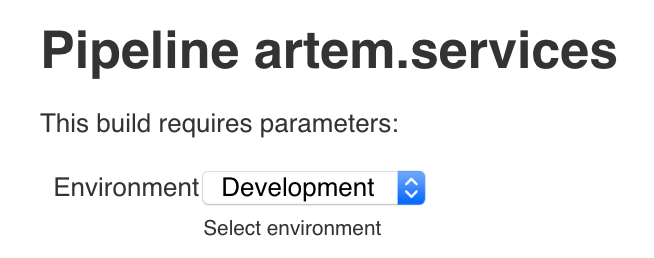
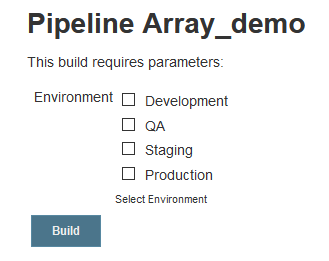
When working with the Active Choice CheckBox parameter, the parameter values are written to the variable, separated by commas. To work with them as separate elements, you need to save them in an array. For example, there is the following Active Choice, which displays a list of environments in the form of a CheckBox.
Pipeline:
properties([
  parameters([
    [$class: 'CascadeChoiceParameter',
      choiceType: 'PT_CHECKBOX',
      description: 'Select Environment',
      filterLength: 1,
      filterable: false,
      name: 'Environment',
      script: [
        $class: 'GroovyScript',
        script: [
          classpath: [],
          sandbox: false,
          script:
            'return[\'Development\',\'QA\',\'Staging\',\'Production\']'
        ]
      ]
    ]
  ])
])
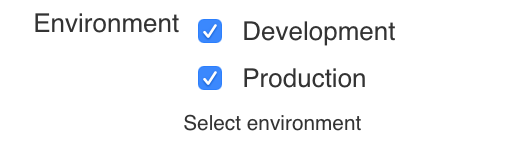
It looks like this:
Choose two environments, “Development” and “QA”
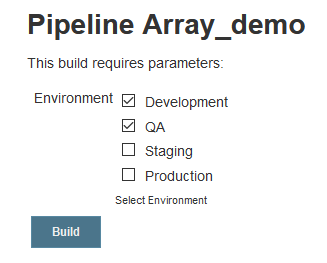
The value of the variable “Environment” will be the following: “Development, QA“. We will save these values to an array for further work with it.
String[] Env_Array = "${params.Environment}".split(',');
Completely Pipeline will have the following form
Pipeline:
properties([
parameters([
[$class: 'CascadeChoiceParameter',
choiceType: 'PT_CHECKBOX',
description: 'Select Environment',
filterLength: 1,
filterable: false,
name: 'Environment',
script: [
$class: 'GroovyScript',
script: [
classpath: [],
sandbox: false,
script:
'return[\'Development\',\'QA\',\'Staging\',\'Production\']'
]
]
]
])
])
pipeline {
agent any
stages {
stage('Check env') {
steps {
script {
if ( env.Environment.isEmpty() ) {
echo "Environment not specified."
autoCancelled = true
error('Aborting the build.')
}
else {
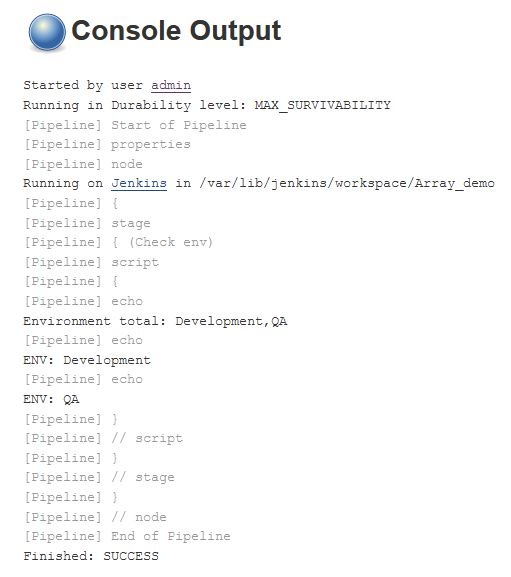
echo "Environment total: ${env.Environment}"
String[] Env_Array = "${params.Environment}".split(',');
for (x in Env_Array) {
echo "ENV: ${x}"
}
}
}
}
}
}
}
The result of the Jenkins job: